Your Cart is Empty
Shop
We are a brand born of an obsession with performance, a belief in good science, and a knack for invention.
Read our story.
Good Science
We define it as a combination of discerning research and real world results.
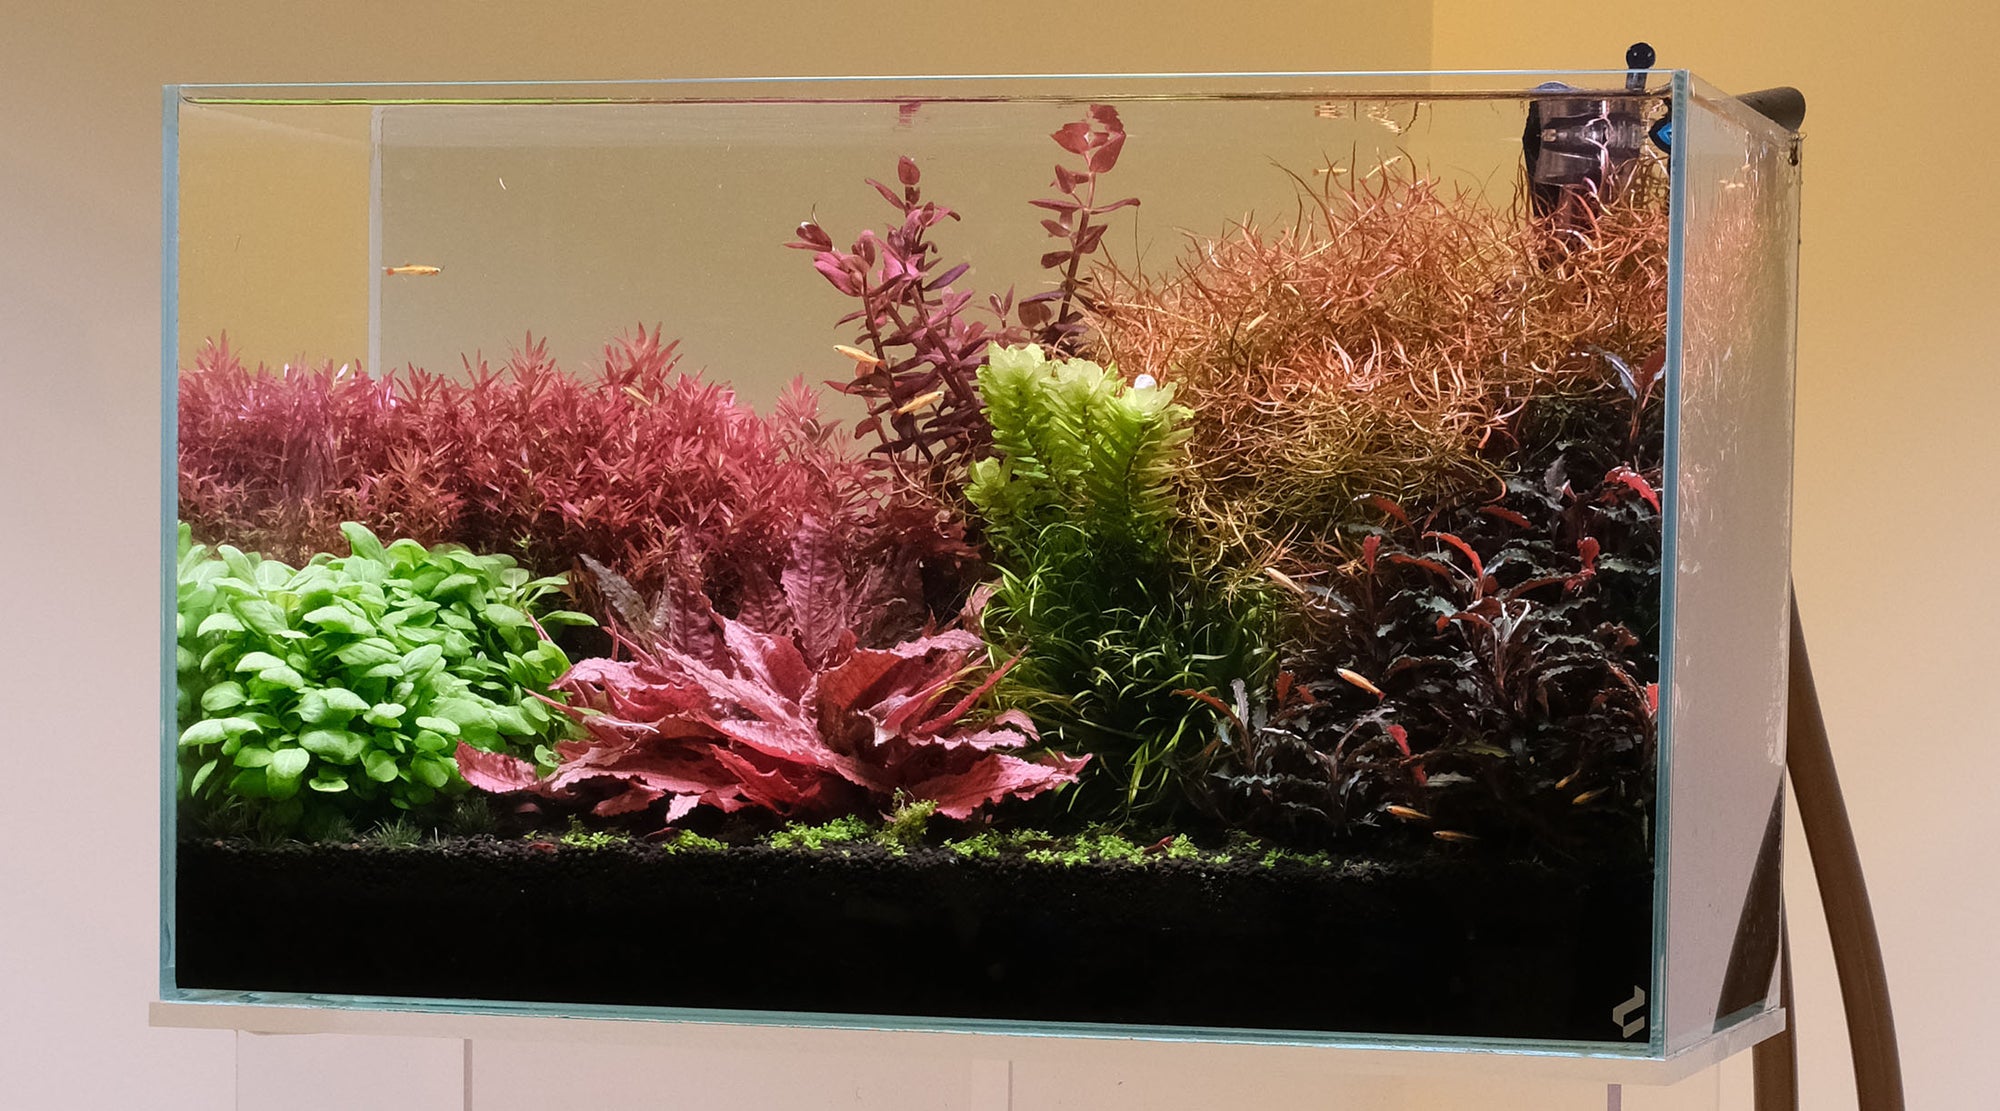
Setting up an easy mini low tech planted tank


Setting out the foundation of the aquascape:
We add drainage crate as a support structure on which to rest my rocks. This allows us to glue the rock work to the base (unless you are comfortable gluing the rocks on the glass). The drainage crate also raises the height of the rocks and prevents any sharp rock edges from impacting the glass. In aquascapes that require a deep substrate, the drainage crate prevents the rocks from sinking into the soil - it forms a secure base to build structures.

We start with the overall structure first - in this tank we plan to construct a cave. We glue the rocks together with superglue and cigarette filters. The background structure can be less aesthetic as it will eventually be covered with plants, wood or additional rock. However, it should be done securely as the rest of the hardscape will be resting on it. The main idea in this structure is that we want a cave entrance that will cast shadows - with two rock 'pillars' as sides that we can attach wood work to.
You can read more on methods of connecting hardscape here

Attaching the wood:
The next stage is attaching the larger wood pieces first. At this stage it is important to remember that the wood pieces themselves do not have to be super aesthetic looking - they are support structures for smaller pieces and plants. However, they are important as a back bone to which the smaller pieces are build upon. Getting the overall shape right is more important. Think about the overall structure; where shadows are going to be cast, where there are wood highlights that you want to be show - and where connection points can be hidden by plants.
Again we are using the combination of liquid super glue and cigarette filter material to bond the wood pieces with the rock. Gel superglue could be used, but takes much longer to cure.

It is important to have a gradation of larger to smaller wood pieces. This gives the sense of scale within the aquascape which is tremendously important. This goes the same for rock - in nature large rocks break down to smaller pieces with time - mirroring that effect with a gradation of large to small rock pieces give the scape a more natural feel. We have also taken the effort to hide the cut ends of the wood in this scape. You can hide them either behind other hardscape pieces or in the substrate or by planting plants/mosses over the ends. It is a bit like fitting a jigsaw puzzle together.
If you have only larger rock pieces, consider breaking some apart with a hammer to get smaller pieces (wear safety glasses !). Wood pieces come entangled in large bunches from the shop, and usually takes a lot of cutting work to break it down to individual, more easily usable pieces.
By this stage, we also fill in the substrate. We am using platinum brand aquasoil in this tank - it buffers the water and the soil provides nutrients for rooted plants as well.

Notice how adding the small rocks and rock chips at the base allows the larger structure to blend into the substrate zone better.

Light and filtration equipment:
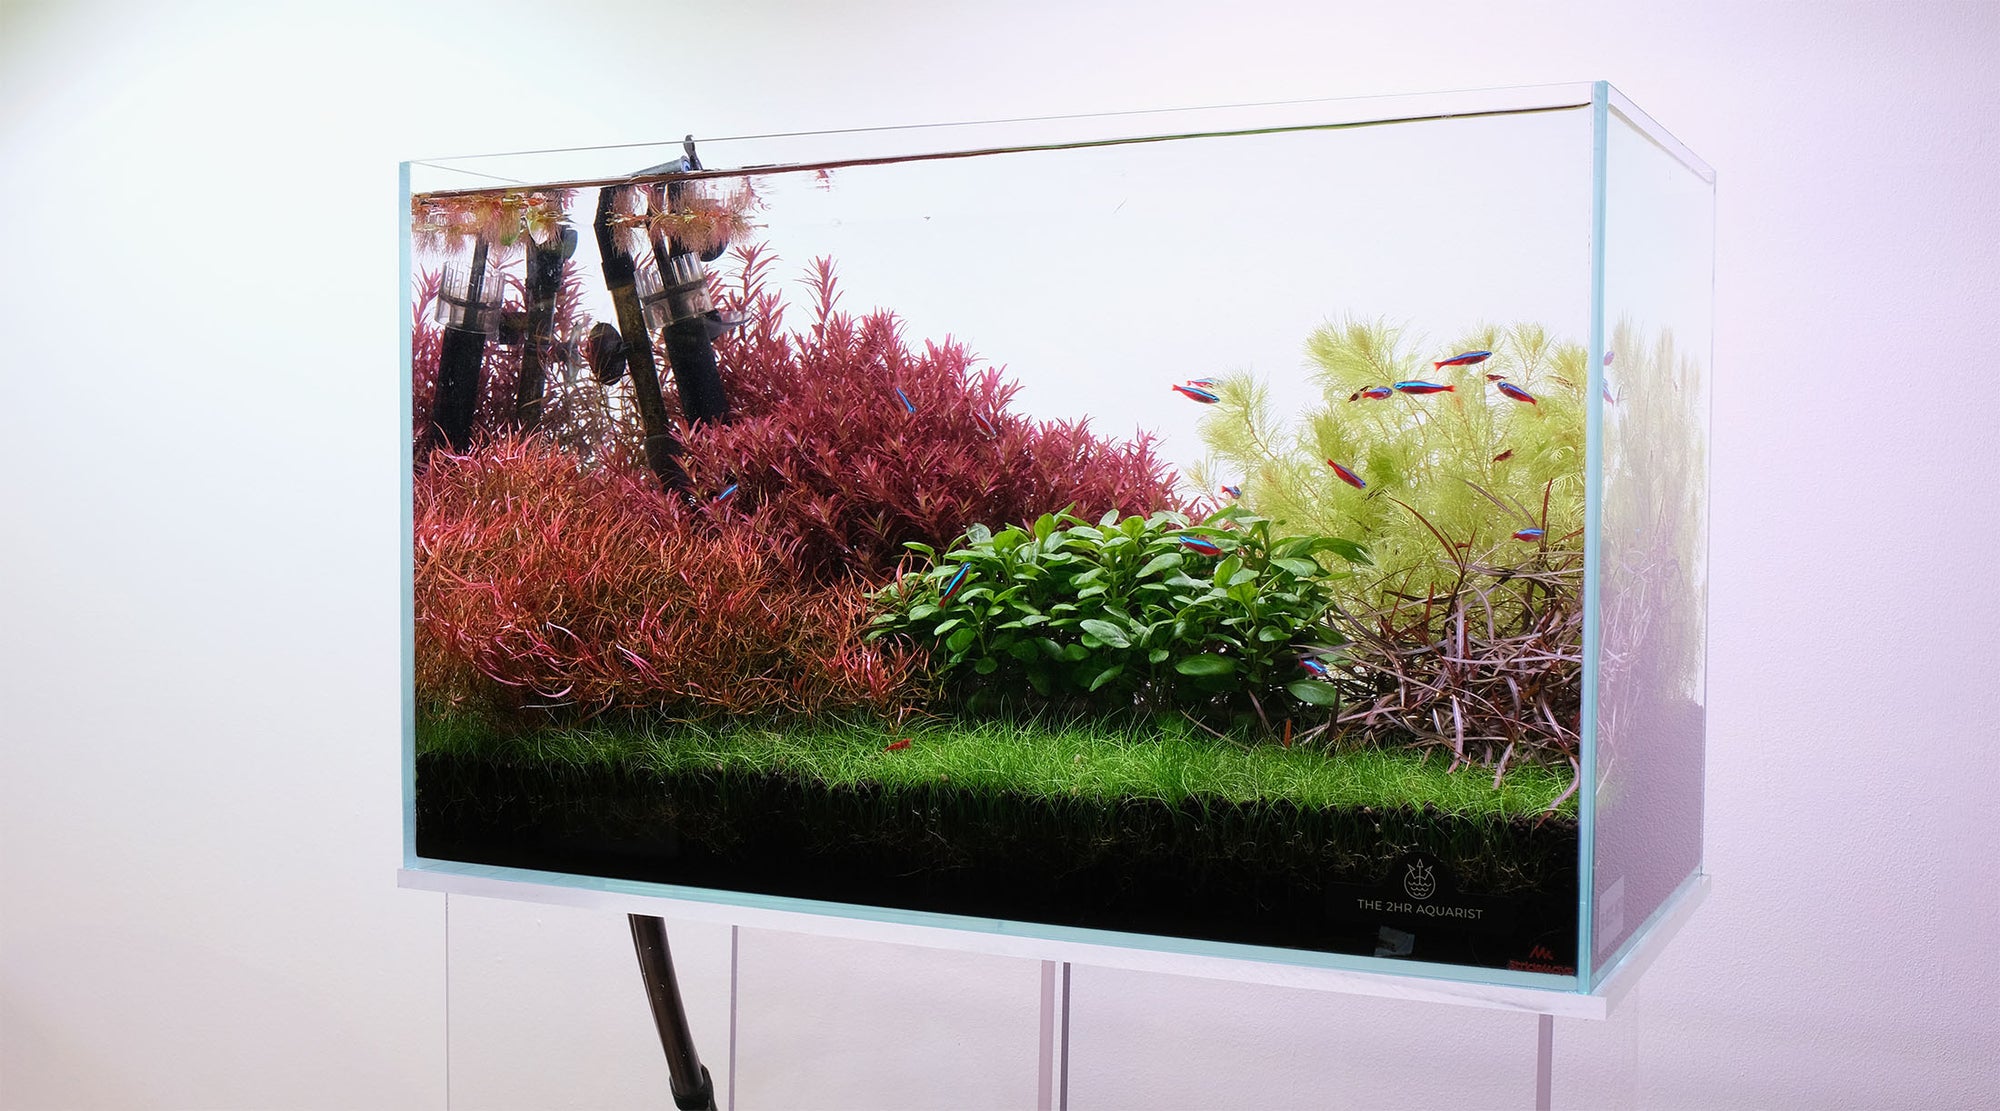
Here we use a small canister filter, and hide the inlet/outlets partially behind the rock. Sponge/undergravel filters also work for such setups (especially for shrimp focused setups as there is no risk that the shrimp get sucked into the filter system) but we find that they take up more space. We cover the filter inlet with sponge to prevent small shrimps from getting sucked in.
Tank is lit by a Chihiros WRGB2 hung high. However, since the plant selection does not require high lighting, cheaper light systems or even a desk lamp would be sufficient to do the job.
Adding plants:
The mosses are glued on - we mainly use fissidens here because it is neat and easy to maintain in the long run. We glue them in patches in between the wood, and made sure to not totally cover the wood work. Having a mix of planted and shadowed areas to contrast with the wood high lights is the main aesthetic play in this aquascape.
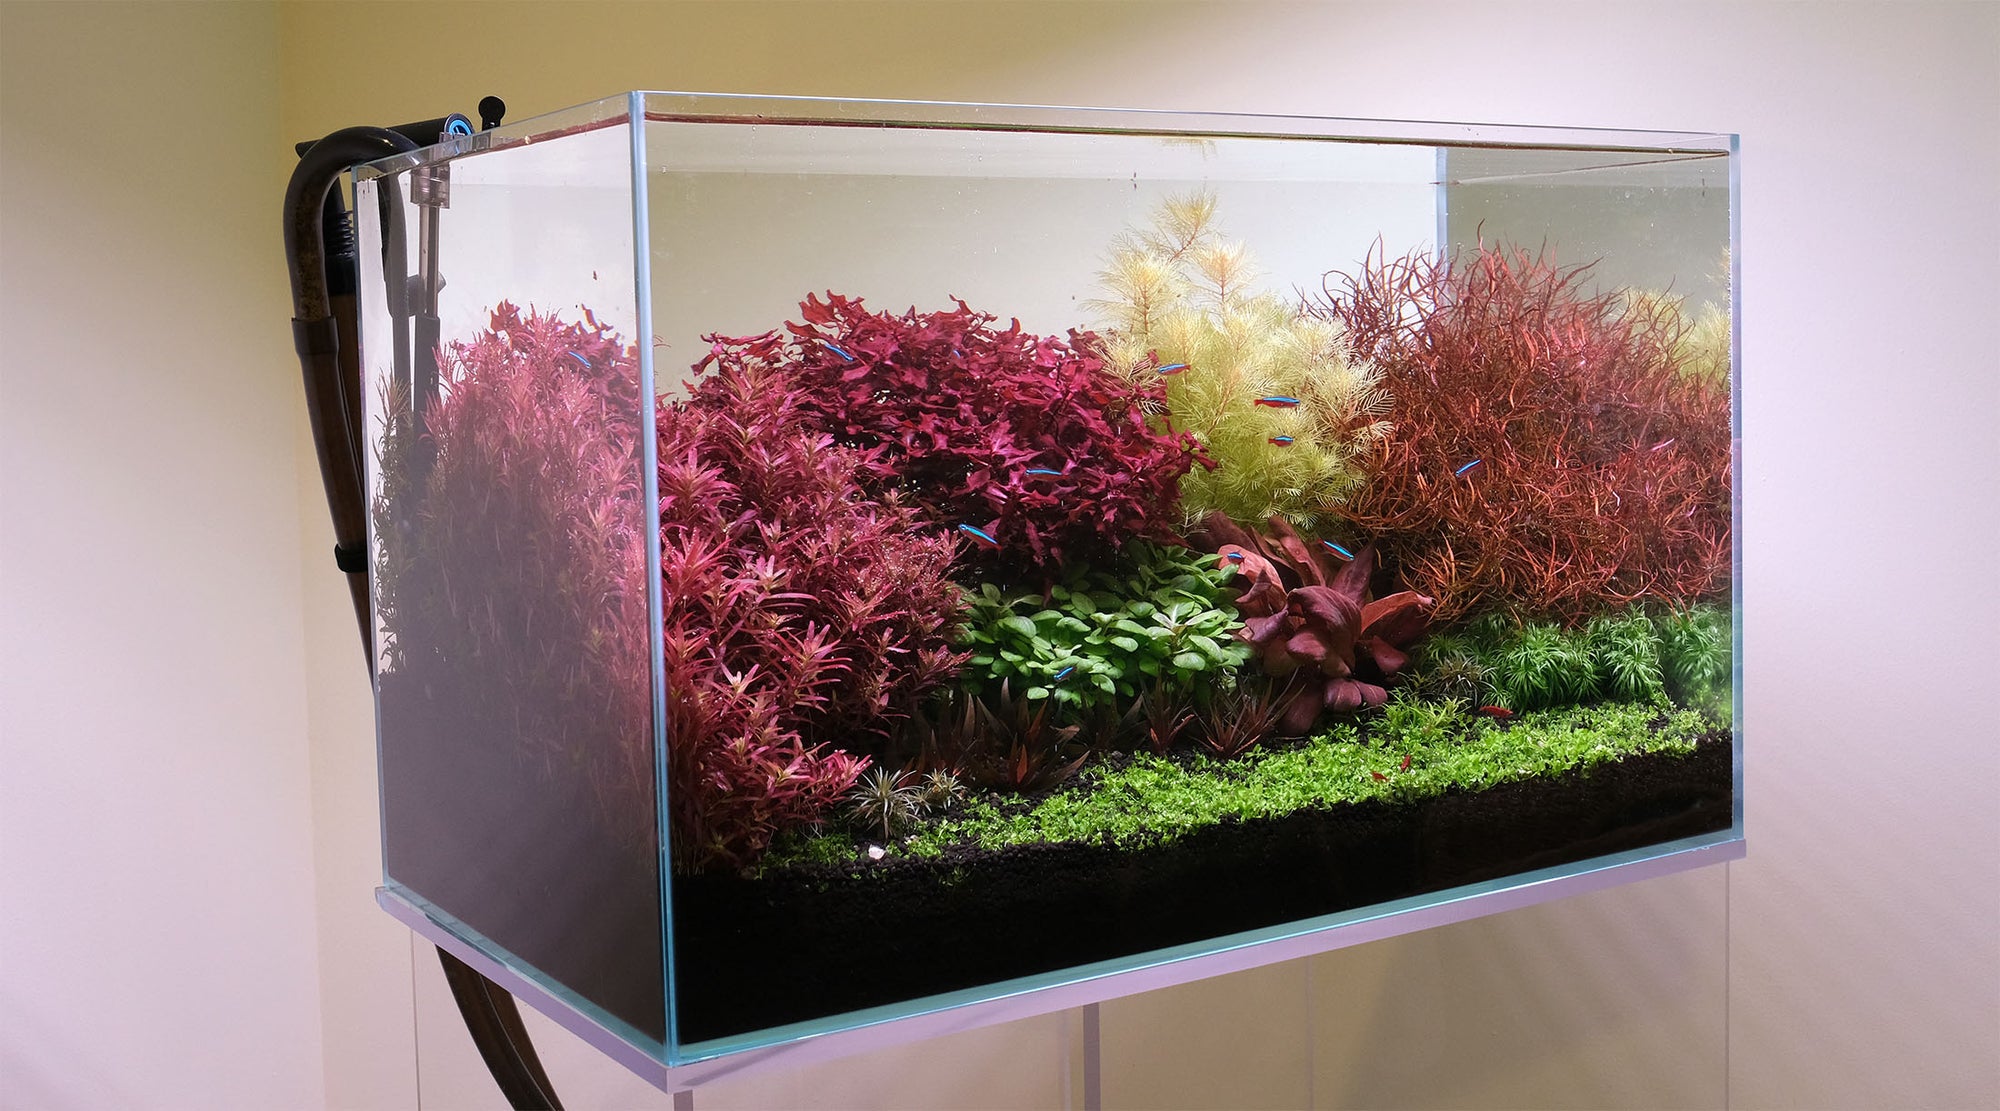
For the foreground we use a mix of Cryptocoryne parva and Lilaeopsis brasiliensis. Both of these species are very hardy plants that will grow well even without CO2 injection. They grow slowly though, which can be a plus for maintenance.
Glued on mosses may take a couple of weeks to recover and grow in. The pic below is what is looks like after a month or so.

Adding livestock:
Due to the small size of this tank, we originally planned to keep only shrimp in it. After planting we let the tank mature for between 2 to 4 weeks before we added CRS shrimp - which require a stable, biologically matured tank tank to do well.


Maintenance tasks:
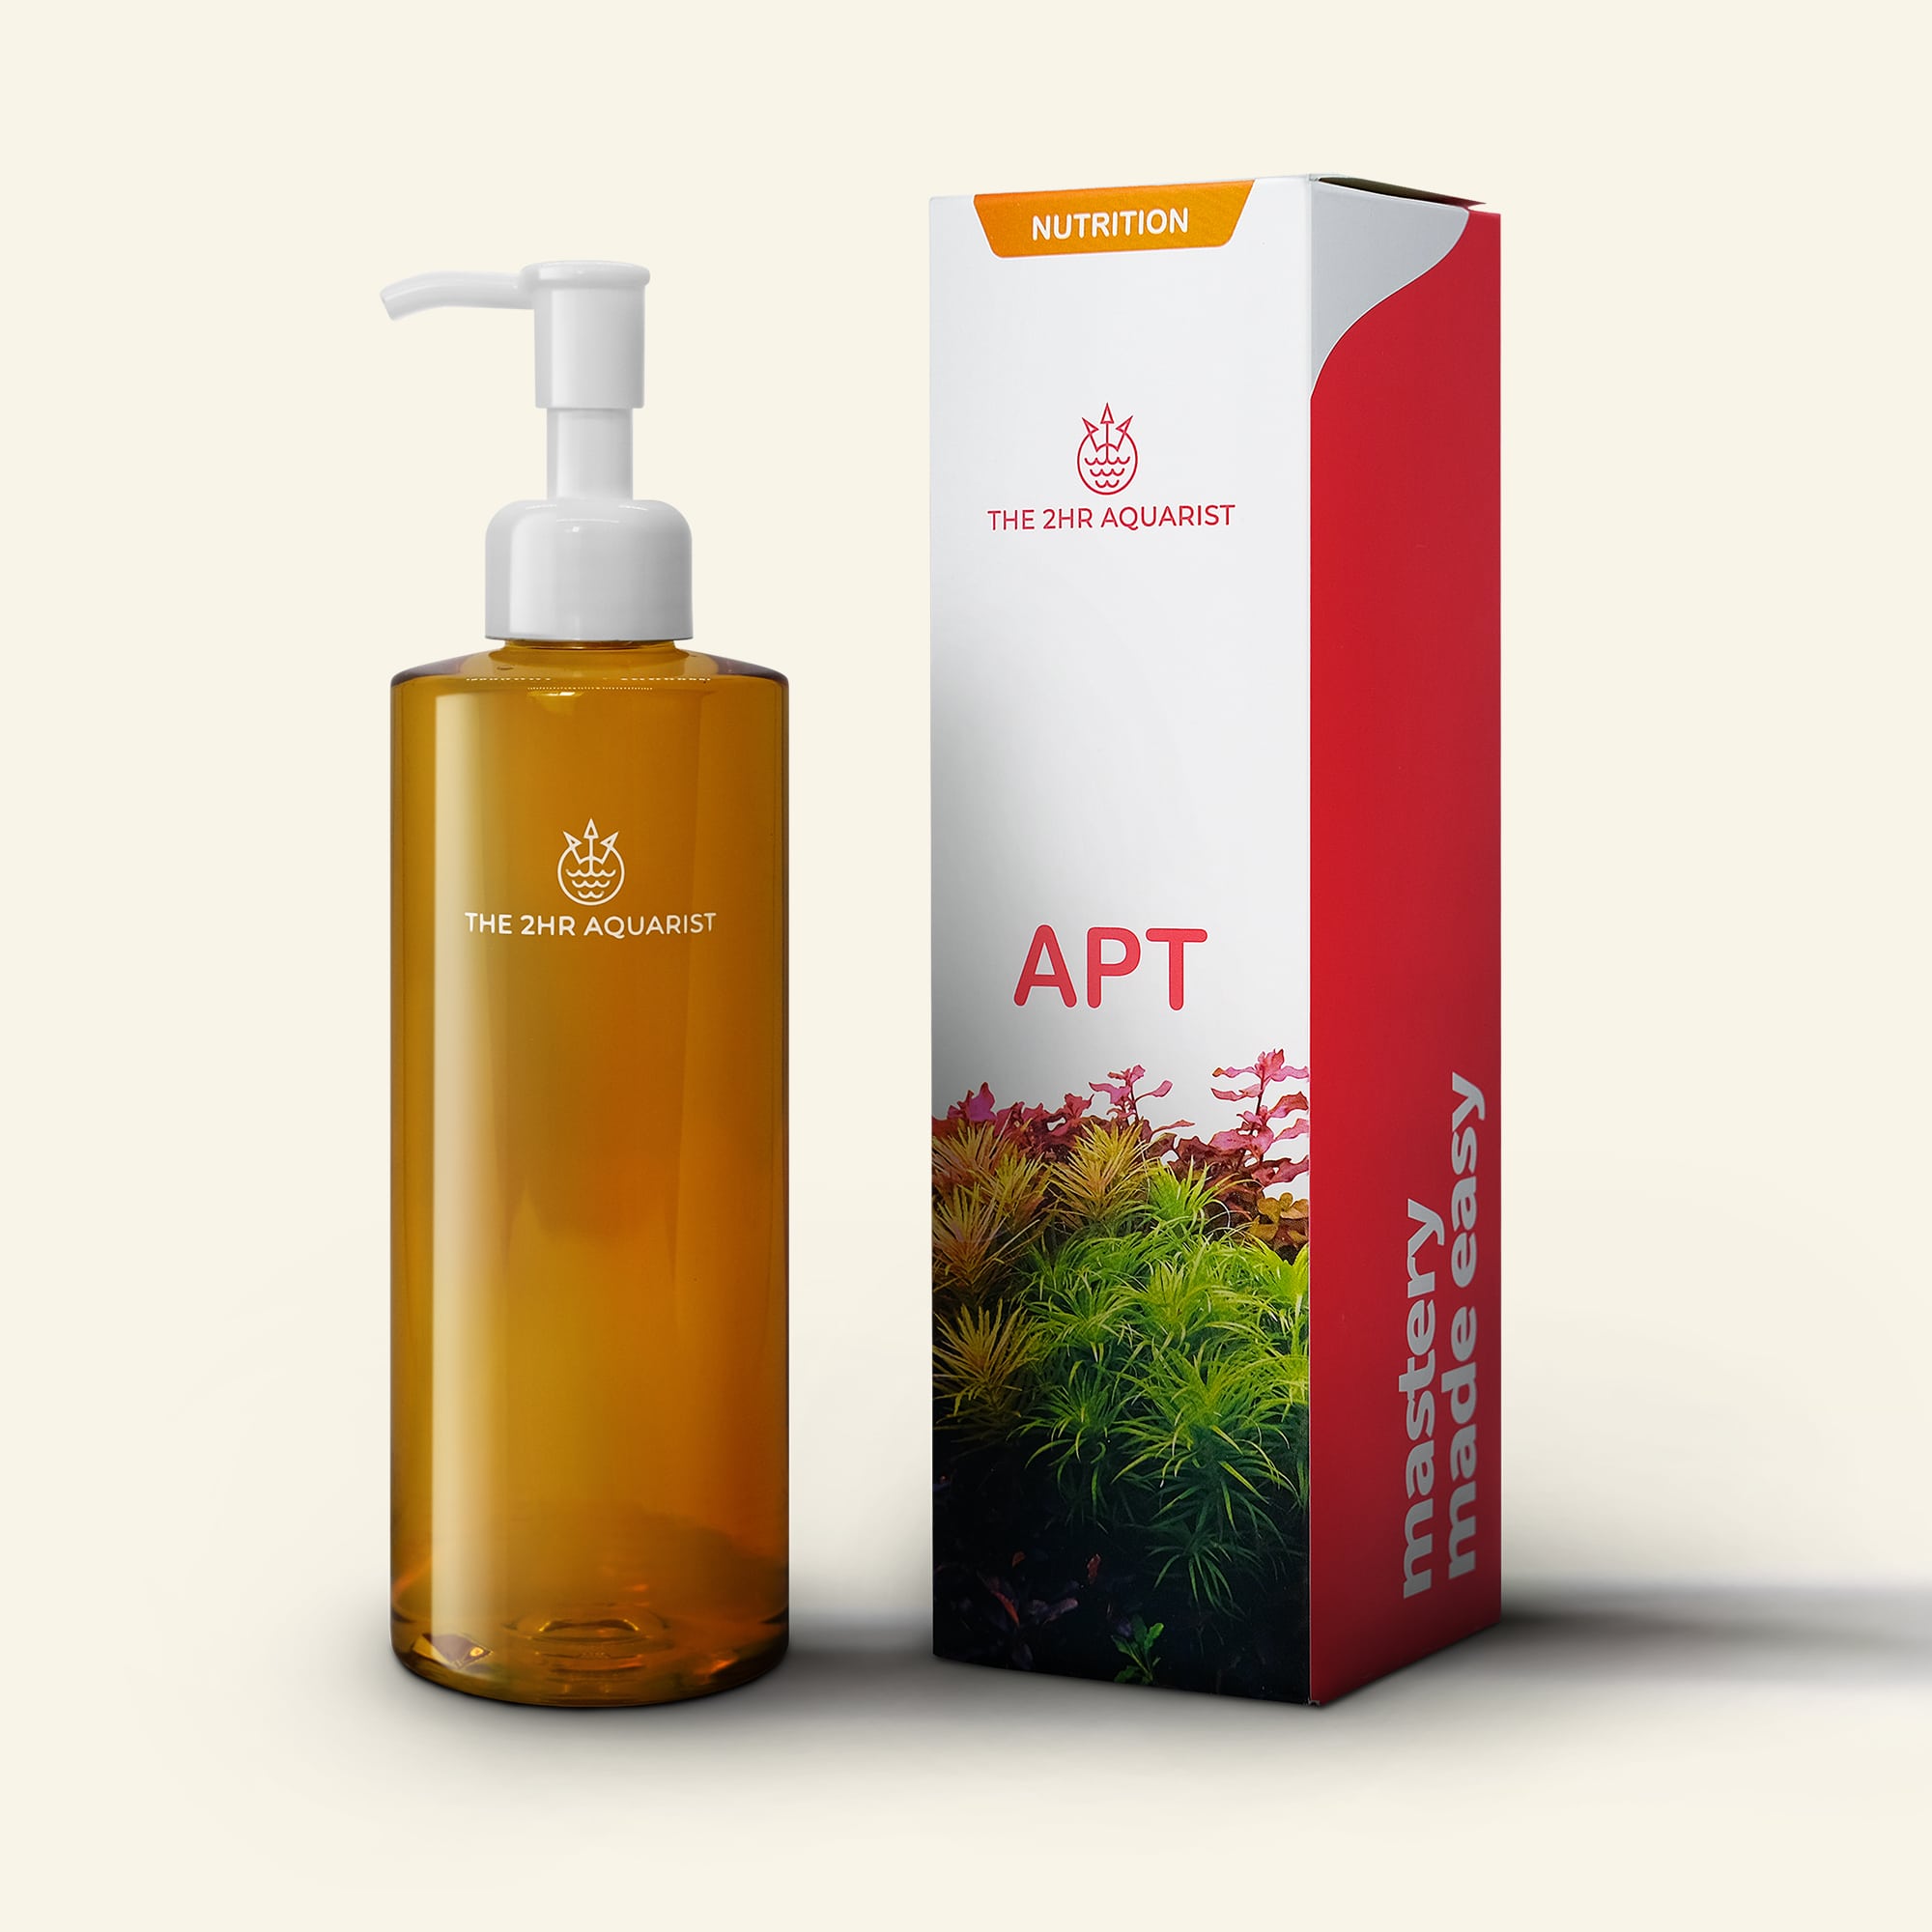
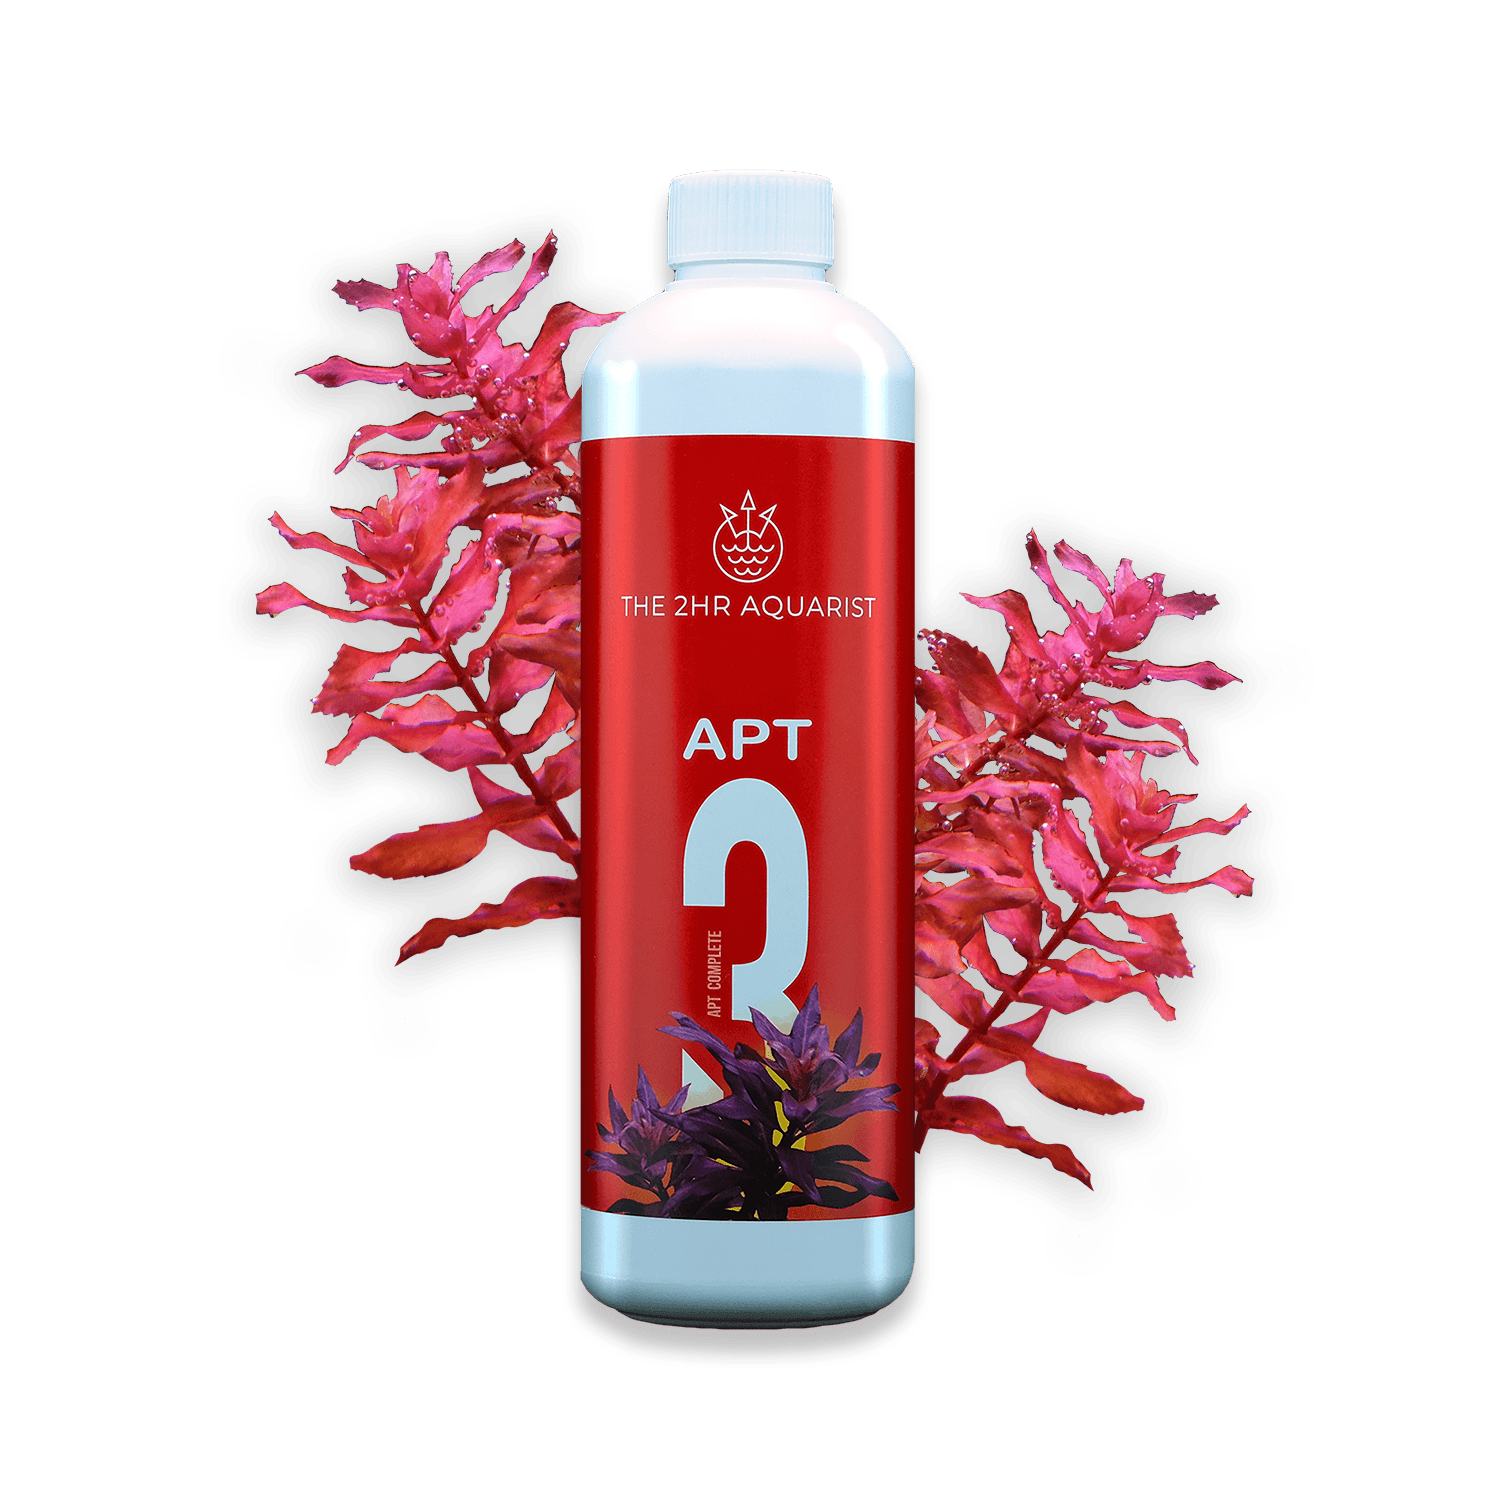
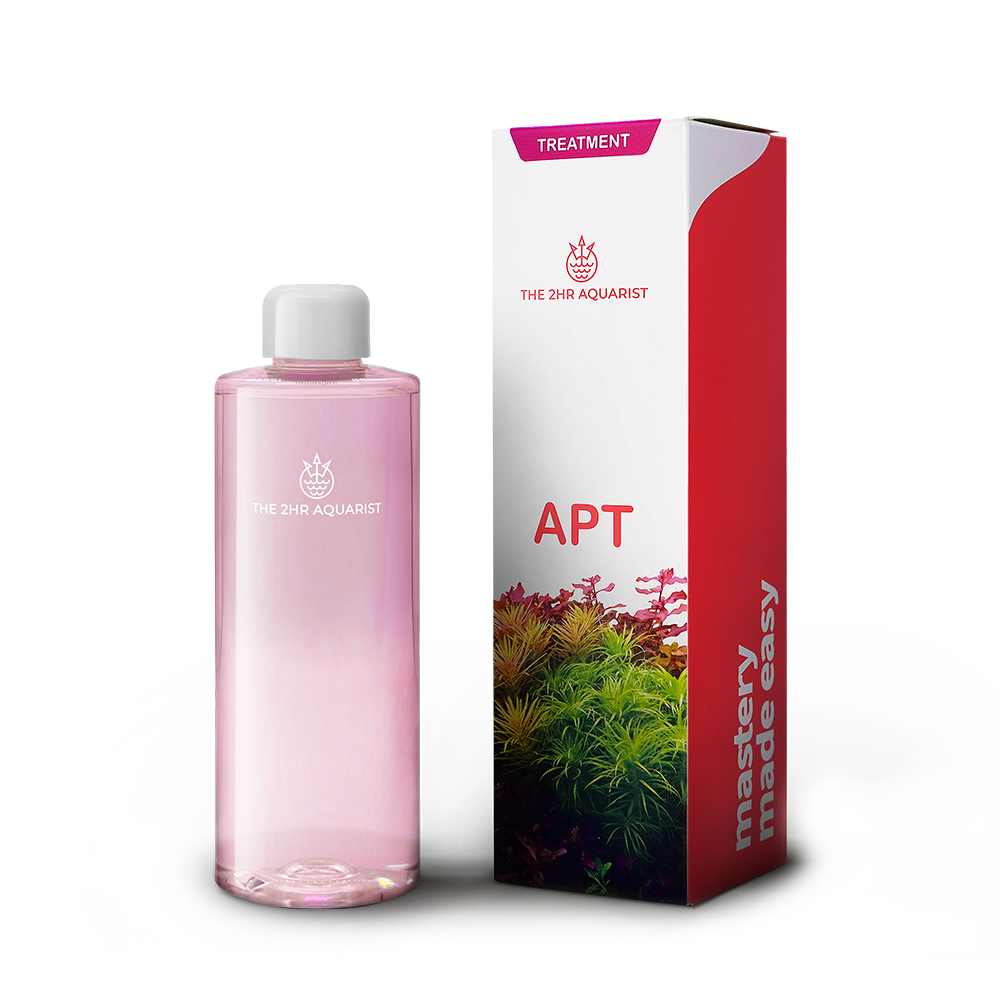
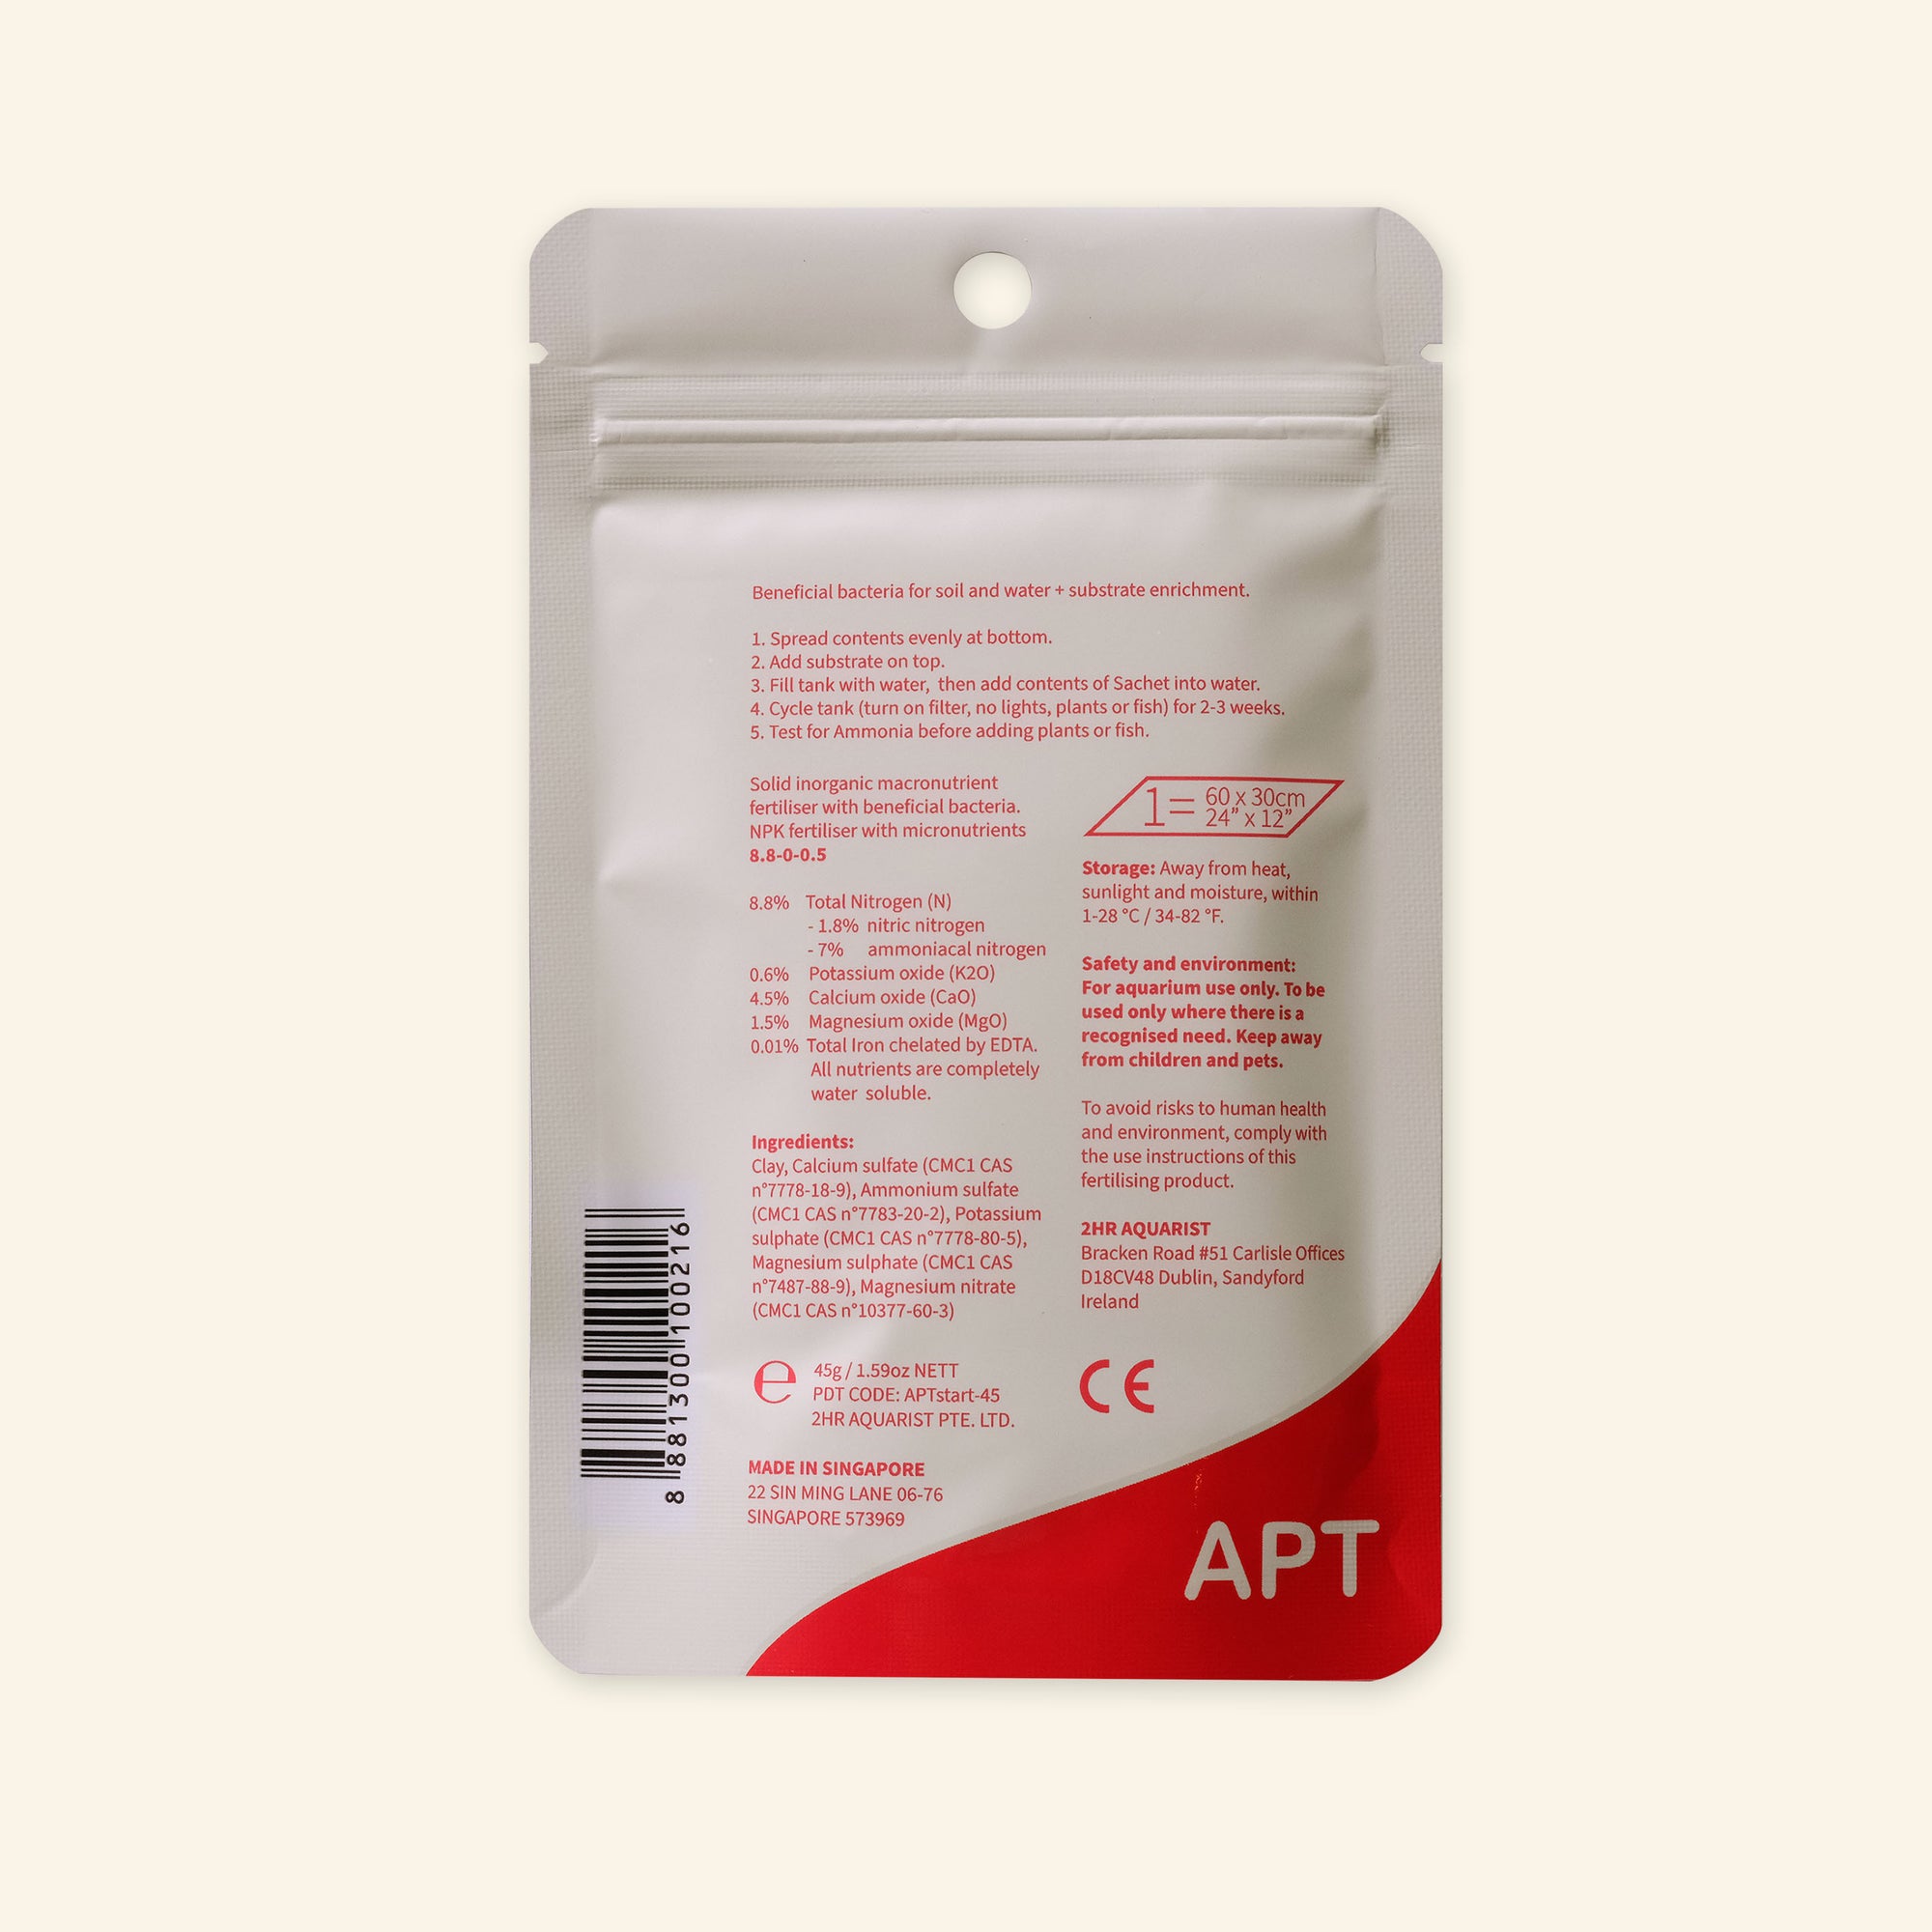
We add APT complete fertilizer once a week to maintain the health of the plants. I change about 25% of the water every 2 weeks, adjusting GH and other parameters to suit CRS shrimp. We will siphon debris from the mosses and substrate with a small hose when we are doing the water change. The mosses need to be cut every month or so.
This is a very low maintenance tank due to the plant choices used. This is a plus as less interference with the tank provides a stable environment for the CRS shrimp to propagate.
*
Plants and hardscape from Green Effect/Singapore


unlock your true potential
Grow anything, defeat algae, create amazing aquascapes