Your Cart is Empty


A CO2 system for aquarium use is not complicated once you break it into parts: cylinder, regulator, bubble counter, tubing, diffuser or reactor, and a timer. For a planted aquarium, the goal is simple: raise carbon dioxide levels to optimal levels before the lights come on, keep it flowing evenly through the tank, and avoid wild swings that stress fish and trigger algae blooms. This article will describe how to set up a high tech carbon dioxide injection system and how to target CO2 saturation levels.
Choose the right CO2 system: CO2 systems can be categorized into several types, including pressurized systems, yeast-based systems, and citric acid systems.
Pressurized CO2 systems are designed for precise CO2 injection and typically use larger cylinders for longer-lasting supply. It uses a cylinder, a regulator, a solenoid plugged into a wall outlet or timer, and usually a bubble counter. When the power is turned on, CO2 is released at a controlled rate and dissolved into aquarium water through the use of a diffusion device.
Citric acid kits use a chemical reaction, usually citric acid and baking soda, to generate gas in a bottle. They are more stable than old-school DIY yeast bottles and can be user-friendly for smaller tanks. Yeast-based CO2 systems are the simplest and cheapest option, but they need frequent maintenance, drift in output, and are best kept to small aquariums where expectations are modest.
Hobbyists can also generate CO2 through mixing yeast and sugar in a bottle, and piping the CO2 generated through fermentation to a CO2 diffusion device to be dissolved into aquarium water. These systems face similar challenges to the citric acid systems, and the variability in output causes CO2 fluctuations that often trigger algae issues in more sensitive planted tanks.
For serious planted aquarium hobbyists, I suggest the pressurized high tech system. Plants use more carbon than all other nutrients combined, making CO2 crucial for their growth. The optimization and stabilization of CO2 levels directly influences the success rates of growing more challenging plant species.
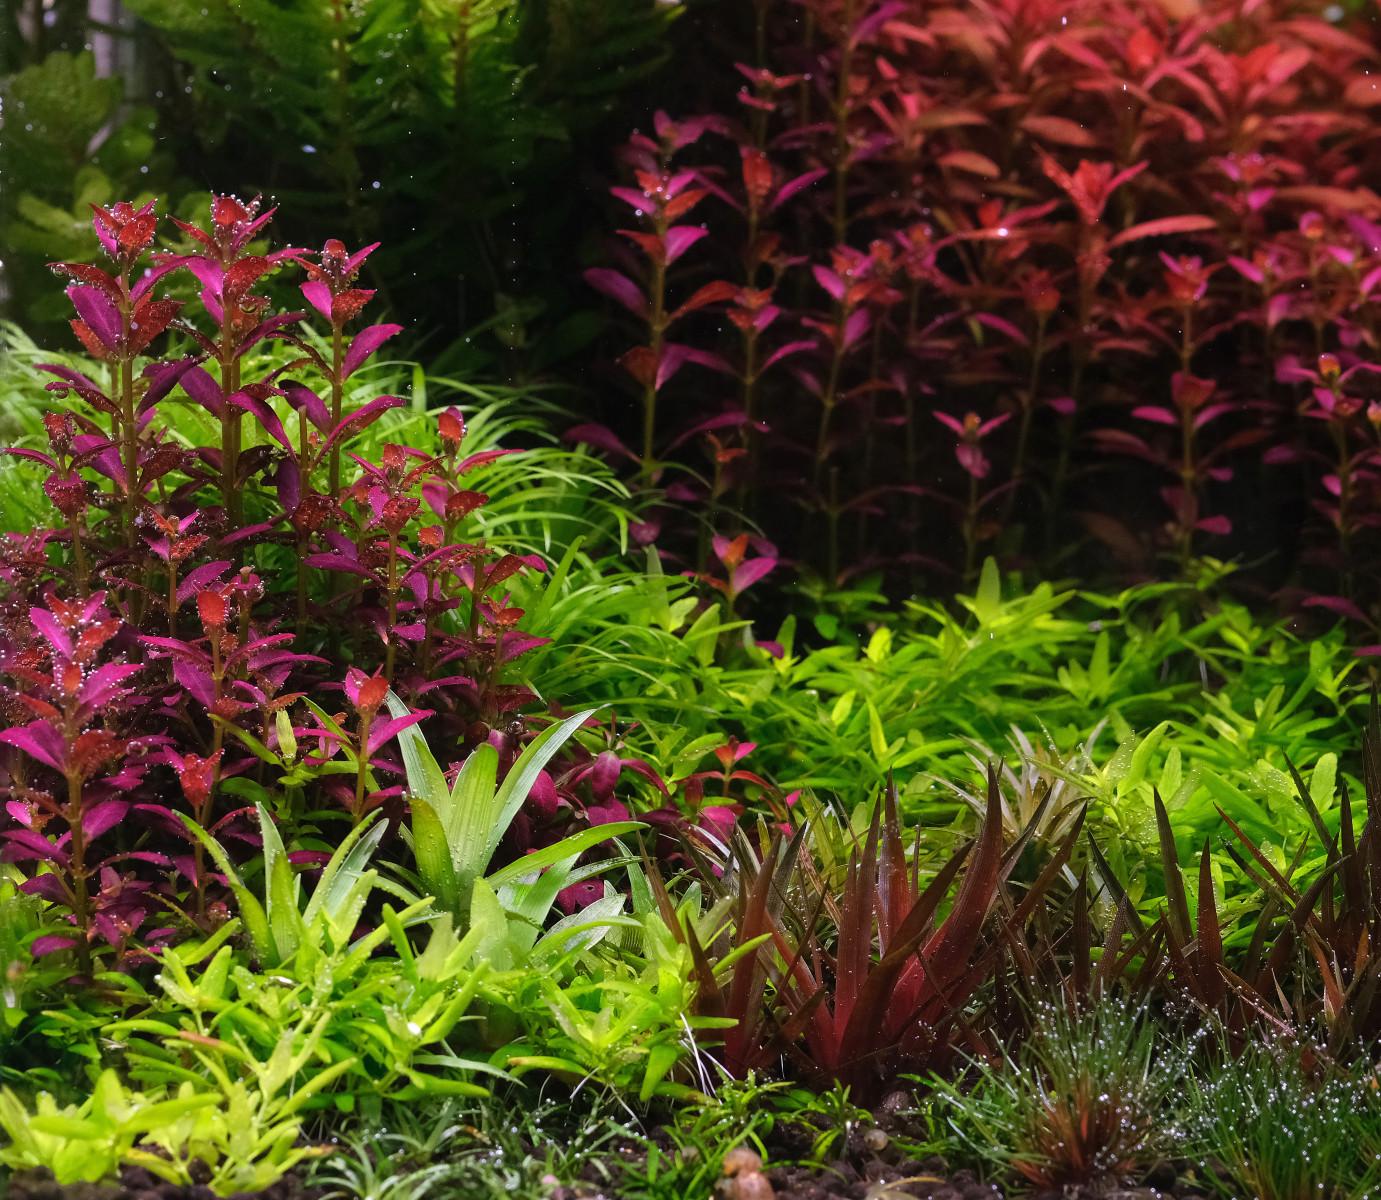
Many first-time aquarists stare at a fresh aquarium CO2 system like it is a bomb with houseplants attached :) The good news is that most CO2 mistakes are not caused by missing equipment. They are caused by impatience, sloppy installation, and the belief that CO2 adjustments can be done by "winging it" rather than by precise measurements.
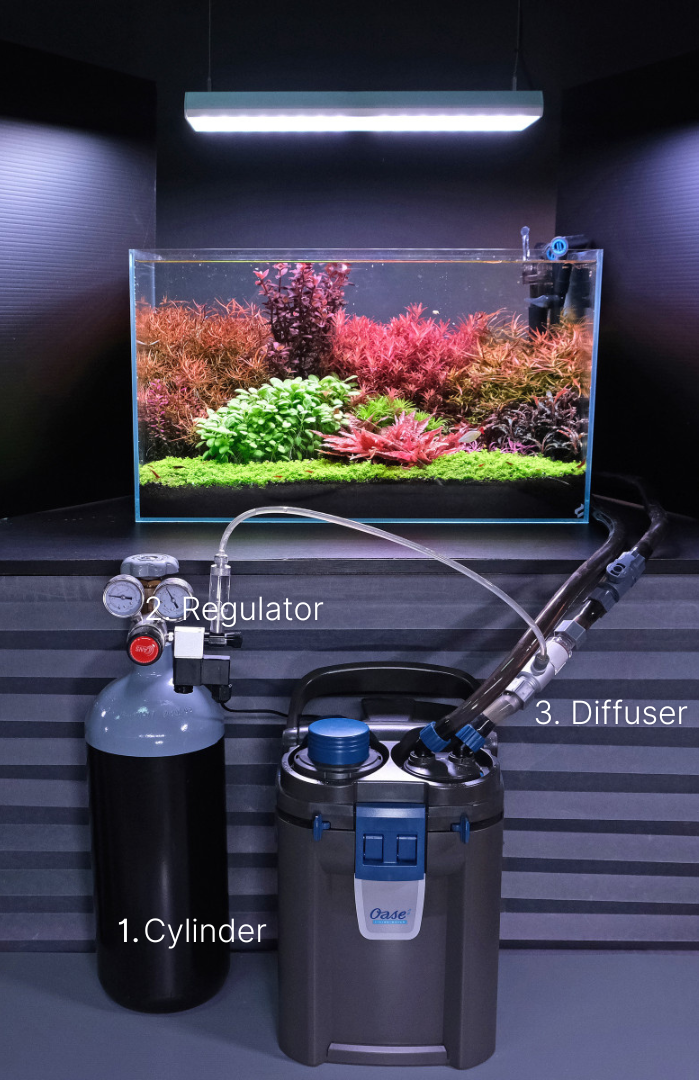

The cylinder is the metal bottle that stores carbon dioxide under pressure. CO2 systems do not require much maintenance over time, but the cylinder needs to be refilled every few months. Choose a cylinder size that fits your cabinet and that you can actually transport for refill. Bigger cylinders lower per kg cost of CO2 significantly. You can also you run CO2 on multiple tanks from one regulator manifold attached to one cylinder.

The regulator reduces cylinder pressure to something the aquarium can actually use. The solenoid is an electric valve that lets the system operate on a timer. This is attached to the regulator, when the solenoid is powered, CO2 gas will be released by the regulator. The regulator and solenoid are regularly sold as one unit. Regulators without solenoids cannot be turned off by power timers - and should be avoided.

The bubble counter is connected or attached directly onto the regulator.The bubble counter is filled with water or other non toxic liquid. As gas is released through the regulator, it bubbles through the bubble counter. It gives you a rough visual estimate of how much CO2 is flowing through. Rough, mind you. Not exact. Not sacred.

From there, CO2 tubing carries gas to the diffusion device. Is CO2 tubing essential? Can one just use airline tubing? Using dedicated Polyurethane CO2 tubing prevents leakage, as standard silicone air tubing allows gas to escape. The stiffer plastic also allows higher working pressure, which some atomizer diffusers require to work effectively.

The CO2 diffuser is the exit point for your CO2, introducing it into the tank. Diffusion devices mixes and dissolves CO2 gas into the aquarium water. This can be an in-tank diffuser, an inline atomizer, or an inline reactor. You just need one of them. Inline atomizers and reactors are much more efficient than in-tank diffusers. In-tank diffusers sit directly inside the aquarium, while inline atomizers and inline reactors are connected to the filter outflow after the filter. Inline reactors are 50-100% more efficient at dissolving CO2 than in-tank diffusers.

A one-way check valve prevents aquarium water from backflowing back up the CO2 tubing from the CO2 diffusion device. This prevents aquarium water from entering the bubble counter/regulator. This is connected to the CO2 tubing, and should be placed before the diffusion device.

Attach the regulator to the cylinder (May require a wrench). Make sure there is a working O-ring securing the connection between the regulator and the cylinder. No white tape/thread seal/plumber's tape should be used in the joint as the seal is made by the O-ring between the cylinder and regulator and not by the screw threads on the regulator/cylinder.
Open the valve at the top of the cylinder. You should see the cylinder pressure gauge jump. If you have a solenoid attached to your regulator, no gas will flow even with the needle valve knob turned on until the regulator receives power. If the regulator did not come with a solenoid, gas will be emitted when the needle valve knob on the regulator is turned on. If you hear the sound of gas escaping even when the regulator knob is turned off, the connection between the regulator and the cylinder may not be tight enough. Close the valve at the top of the cylinder and tighten the connection.

Attach the bubble counter and run the CO2 line to your check valve, then from your check valve to the diffuser/Inline reactor/Inline atomizer.

Turn on the power if the Regulator is attached to a solenoid. If all the valves are turn on you should see CO2 gas being released in the bubble counter.

After installing all the necessary tubing, it is a good idea to check for leaks with soapy water: using a paintbrush, apply soapy water to all the joints in the system. Turn on the solenoid and release CO2 gas through the regulator. If there is a leak, large bubbles will be visible. Checking for leaks is often neglected, but it is like not checking the handbrakes on a new car: the probability of a real problem is low, but it can become a big problem if discovered later.
Using Drop checkers:
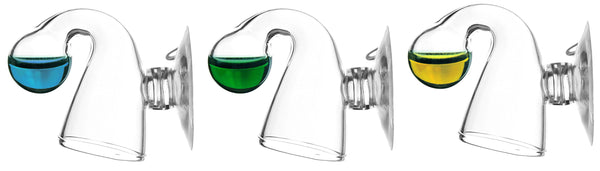
A drop checker uses a color-changing reagent to indicate CO2 concentration levels in the aquarium. The device is attached to the inside of the aquarium, with air isolating the solution from the surrounding aquarium water. CO2 will diffuse out of the aquarium water and come into equilibrium with the dye solution, changing its pH and the colour of the dye. The Drop Checker solution will initially be blue, indicating a low level of CO2 dissolved in the aquarium water. As CO2 saturates the tank water and diffuses into the dye solution, it gradually turns green, indicating an 'optimum' level of CO2. As more CO2 is injected into the tank, the drop checker will turn yellow, indicating that the CO2 level is "too high".

Contrary to marketing claims, it takes just 10-15ppm of dissolved CO2 to turn drop checker solutions green, so drop checkers are only useful for aquariums targeting lower levels of CO2 saturation. One of the biggest myths spread in the aquarium industry is that green=30ppm of CO2.
Perceiving yellowish green tones accurately for targeting higher CO2 saturation levels is difficult. Drop checkers also have a time lag of around 60-90 minutes.

Using the pH drop method:
As gaseous CO2 dissolves in water, a small proportion of it is converted to carbonic acid, reducing the acidity of the water (causing the pH to drop). CO2 levels can therefore be measured by comparing the pH of the tank water before injection begins and during CO2 injection, during which time the pH will fall steadily as the CO2 levels in the water build up until it reaches equilibrium - when your CO2 injection rate equals the rate of CO2 outgassing.
If your KH is between 1-10 dKH, a 1.0 pH drop corresponds roughly to 30+ppm of CO2. A 1.2 pH drop from baseline will give higher saturation rates of 40-50ppm CO2.

Bubble counters do not give good estimation for CO2 levels as different bubble counters produce different sized bubbles. Different tank dimensions, surface to volume ratios, turnover, and injection devices all affect CO2 saturation rates. Thus, CO2 levels need to be measured by taking readings of the water column directly (either through the pH drop method or by drop checkers).
Stop staring at the gadget. Measure the water.
The key process here is saturation lag.
That means your CO2 does not instantly dissolve into aquarium water and become available to plants the moment you open the valve. Carbon dioxide levels take time to build up to optimal saturation levels. In aquariums with low injection rates, it can take many hours for the aquarium to be fully saturated. Aquatic plants require CO2 for photosynthesis, which produces oxygen and sugars as byproducts. Starting the day with optimal CO2 levels maximizes photosynthesis rates during the light window. Carbon is the most important nutrient to plants - plants use more carbon than all other nutrients combined, and photosynthesis cannot start without it.
Hobbyists injecting CO2 at high injection rates can reach peak saturation in 1 to 2 hours. However, most hobbyists are more conservative with their injection rates and aquariums can take 3-5 hours to fully saturate with CO2. If you are just starting out and using less aggressive injection rates, you should start injecting at least 3 hours early. Peak CO2 saturation is reached when the pH stops dropping as CO2 is being injected. For drop checkers, peak CO2 saturation is reached when the color stops changing.
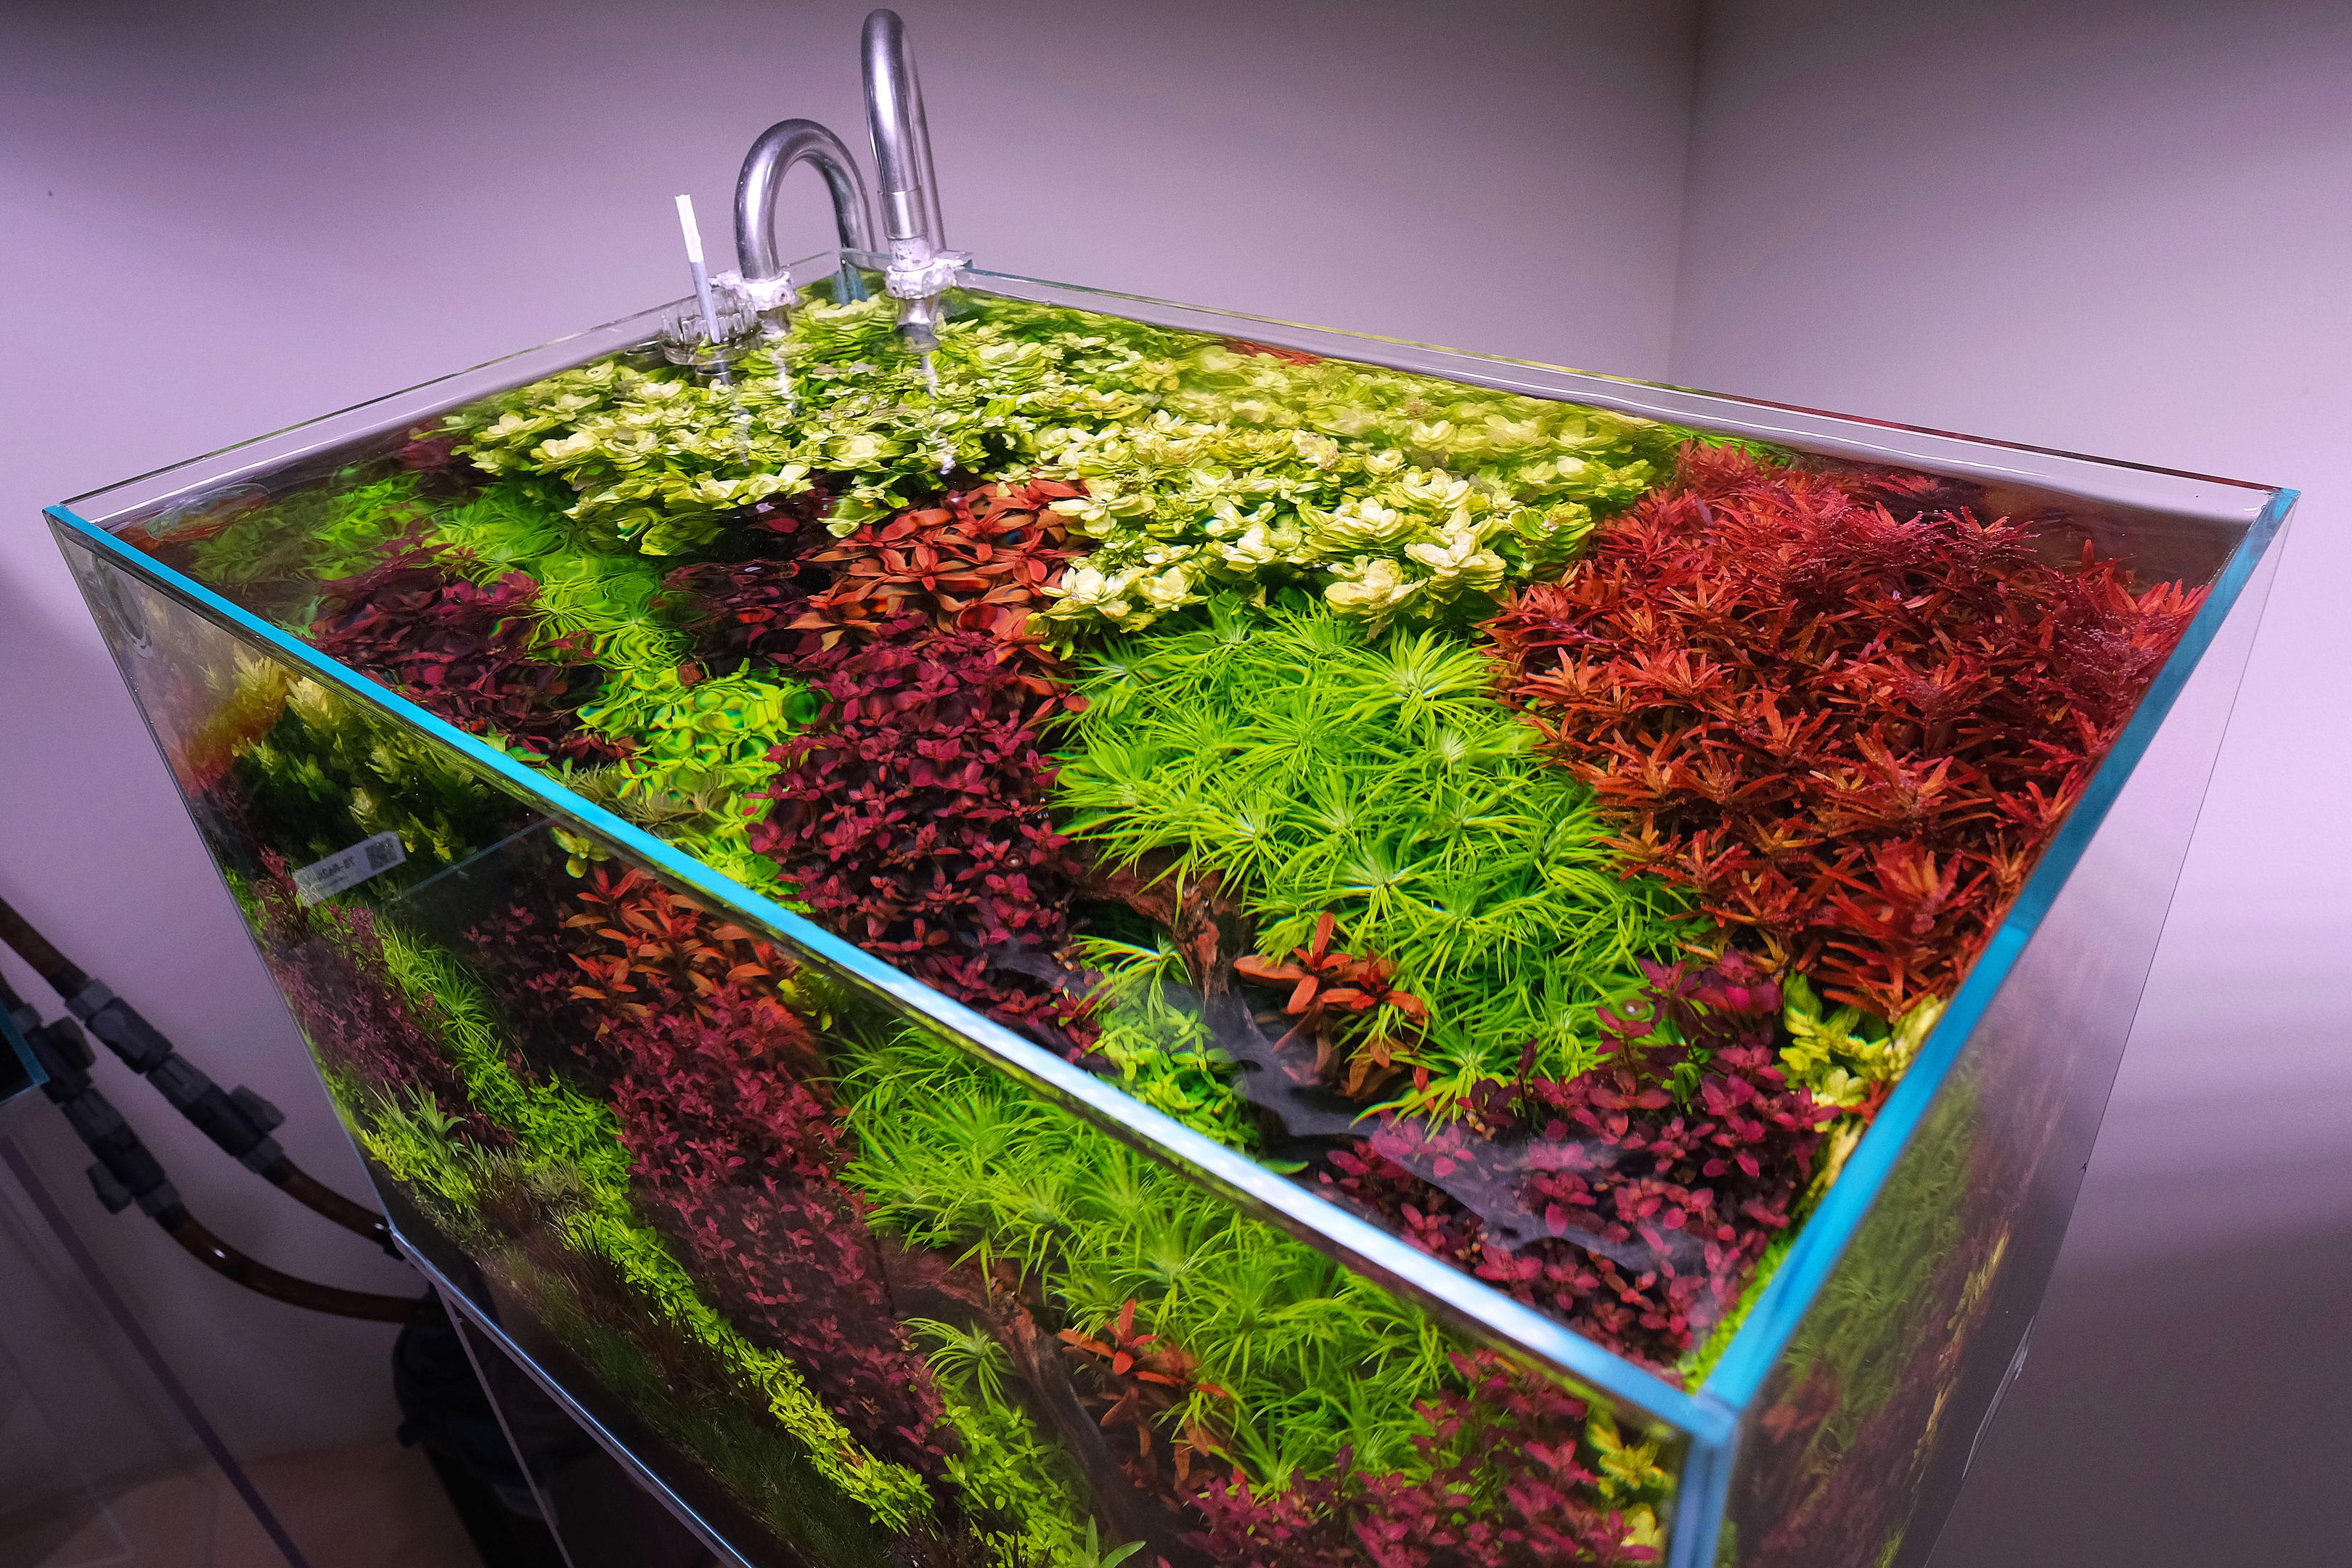
A clean water surface, and adequate turnover are important to prevent CO2 from building up to excessive levels.
Before starting CO2 injection, take a reading of the water's pH. This should be done after water has been sitting in the aquarium for a few hours at least, as substrate/aquasoil interactions can lower the equilibrium pH level.
Put the solenoid on a timer and start CO2 2 to 3 hours before lights come on; set the timer to turn CO2 off about 1 hour before lights out.
Make sure the tank's surface water is clean, and there is good turnover of surface water with deeper water in the aquarium. This ensures adequate off-gassing, which prevents excessive build-up of CO2 levels. A slight ripple across the water surface is helpful.
Start with 1 bubble per sec through the bubble counter per 2 square feet of tank surface area. This is a conservative start - CO2 adjustments should be made gradually to avoid hurting fish.
Let the tank saturate with CO2, and take pH readings every half an hour. When the pH reading stops dropping, that's when you know you are at peak CO2 saturation. The start of the light timing should coincide with this.
Watch fish, shrimps, plant posture, and pH drop; do not worship the bubble rate like it is holy scripture.
What CO2 level to target? CO2 While many plants can grow with lower levels of CO2, the boost in plant growth and vigor at higher levels is significant, and allows aquarists to outgrow algae issues and other plant problems more easily. A good starting point for CO2 levels is 25ppm - 35ppm in the aquarium. To hit 30ppm, the pH will drop by 1 full point when CO2 saturation is at its peak. It is likely that you will need to tweak your bubble rate upwards significantly to achieve this.
Due to the small outputs of most bubble counters, it takes a very large number of bubbles to reach good CO2 saturation rates for larger aquariums. For aquariums 60 gallons and above, it is likely that the bubble stream will look too fast to count.
For folks that want a lazier, less precise method for determining CO2 and growing relative easy plants - a Green Drop checker would be the minimum target.
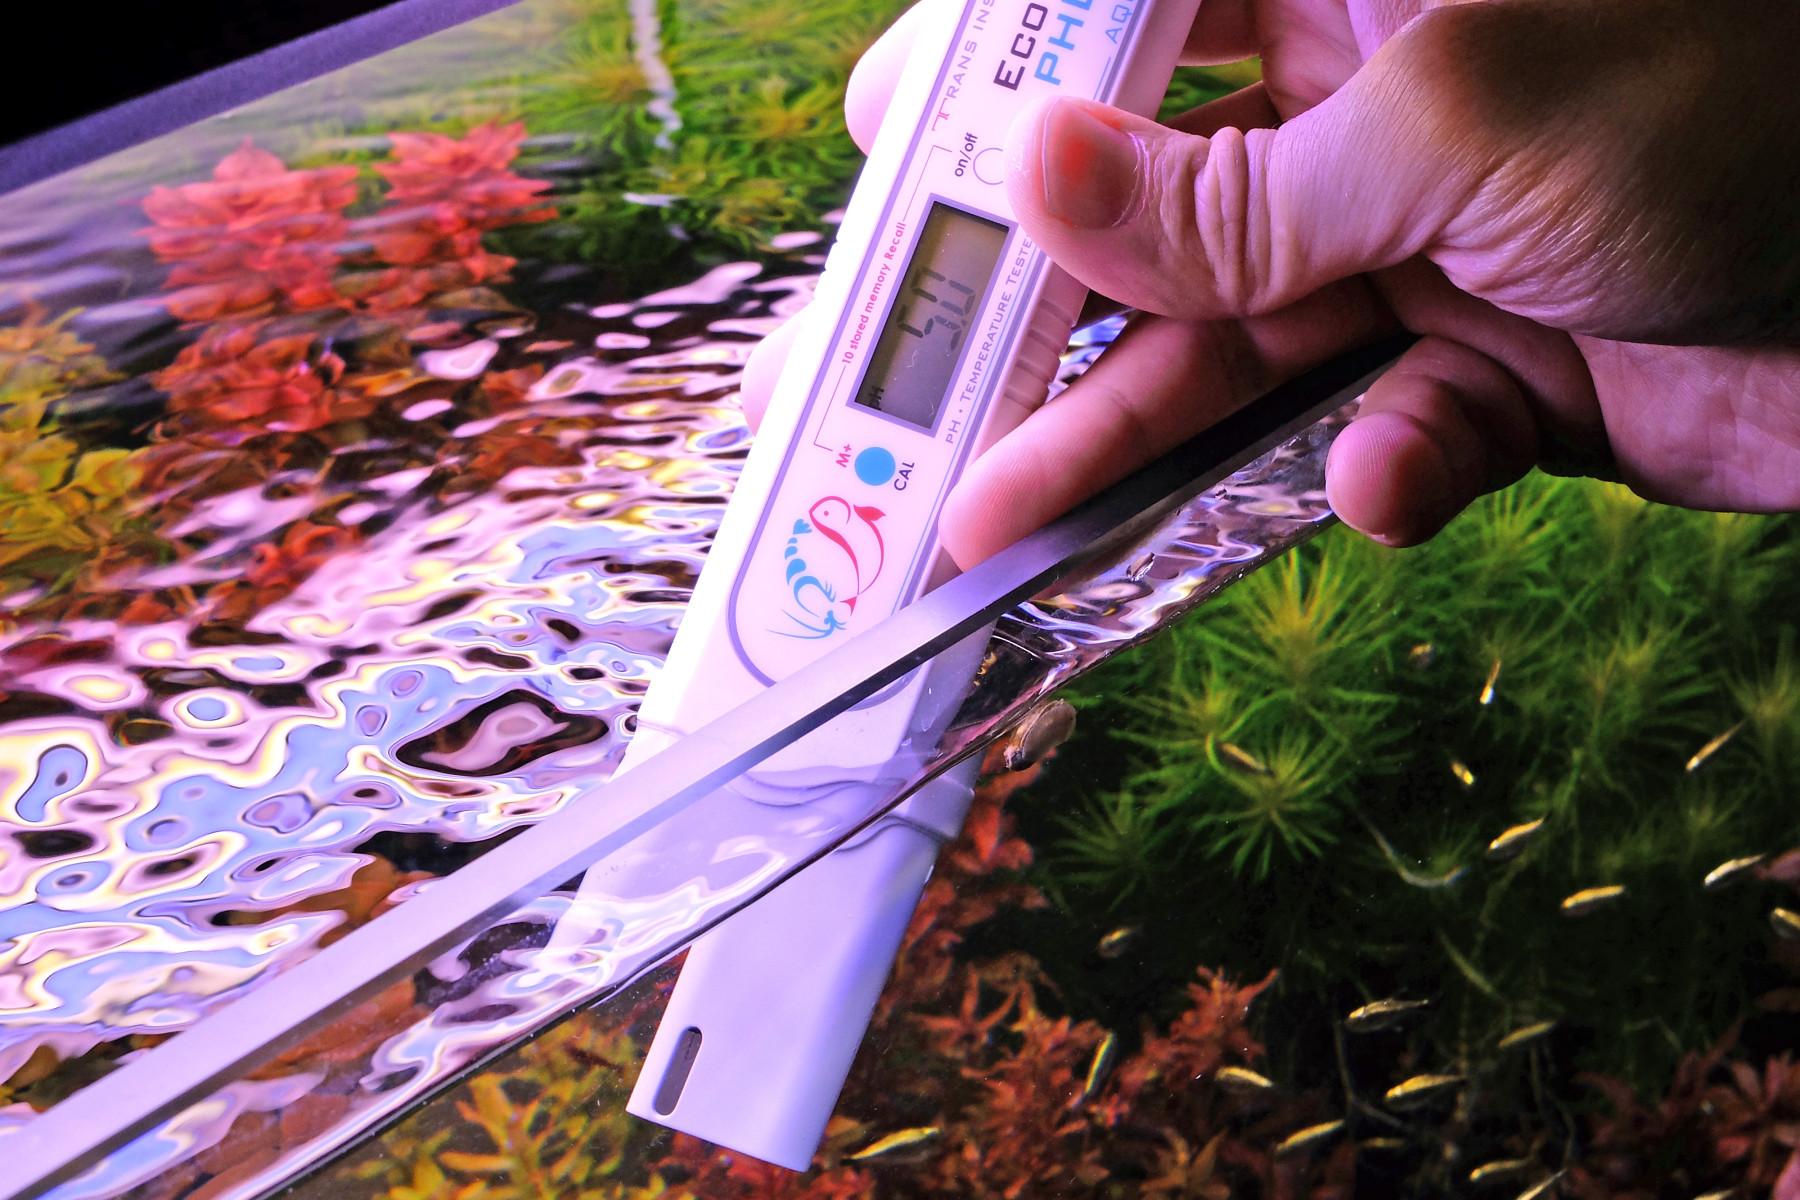
For soft water aquasoil aquariums, it is common for pH to drop to the low 5+ range when CO2 saturation is at its peak. Another myth to kill here is that low pH ranges are automatically bad for livestock - fish from soft water habitats are perfectly fine at the lower pH ranges of 5+.
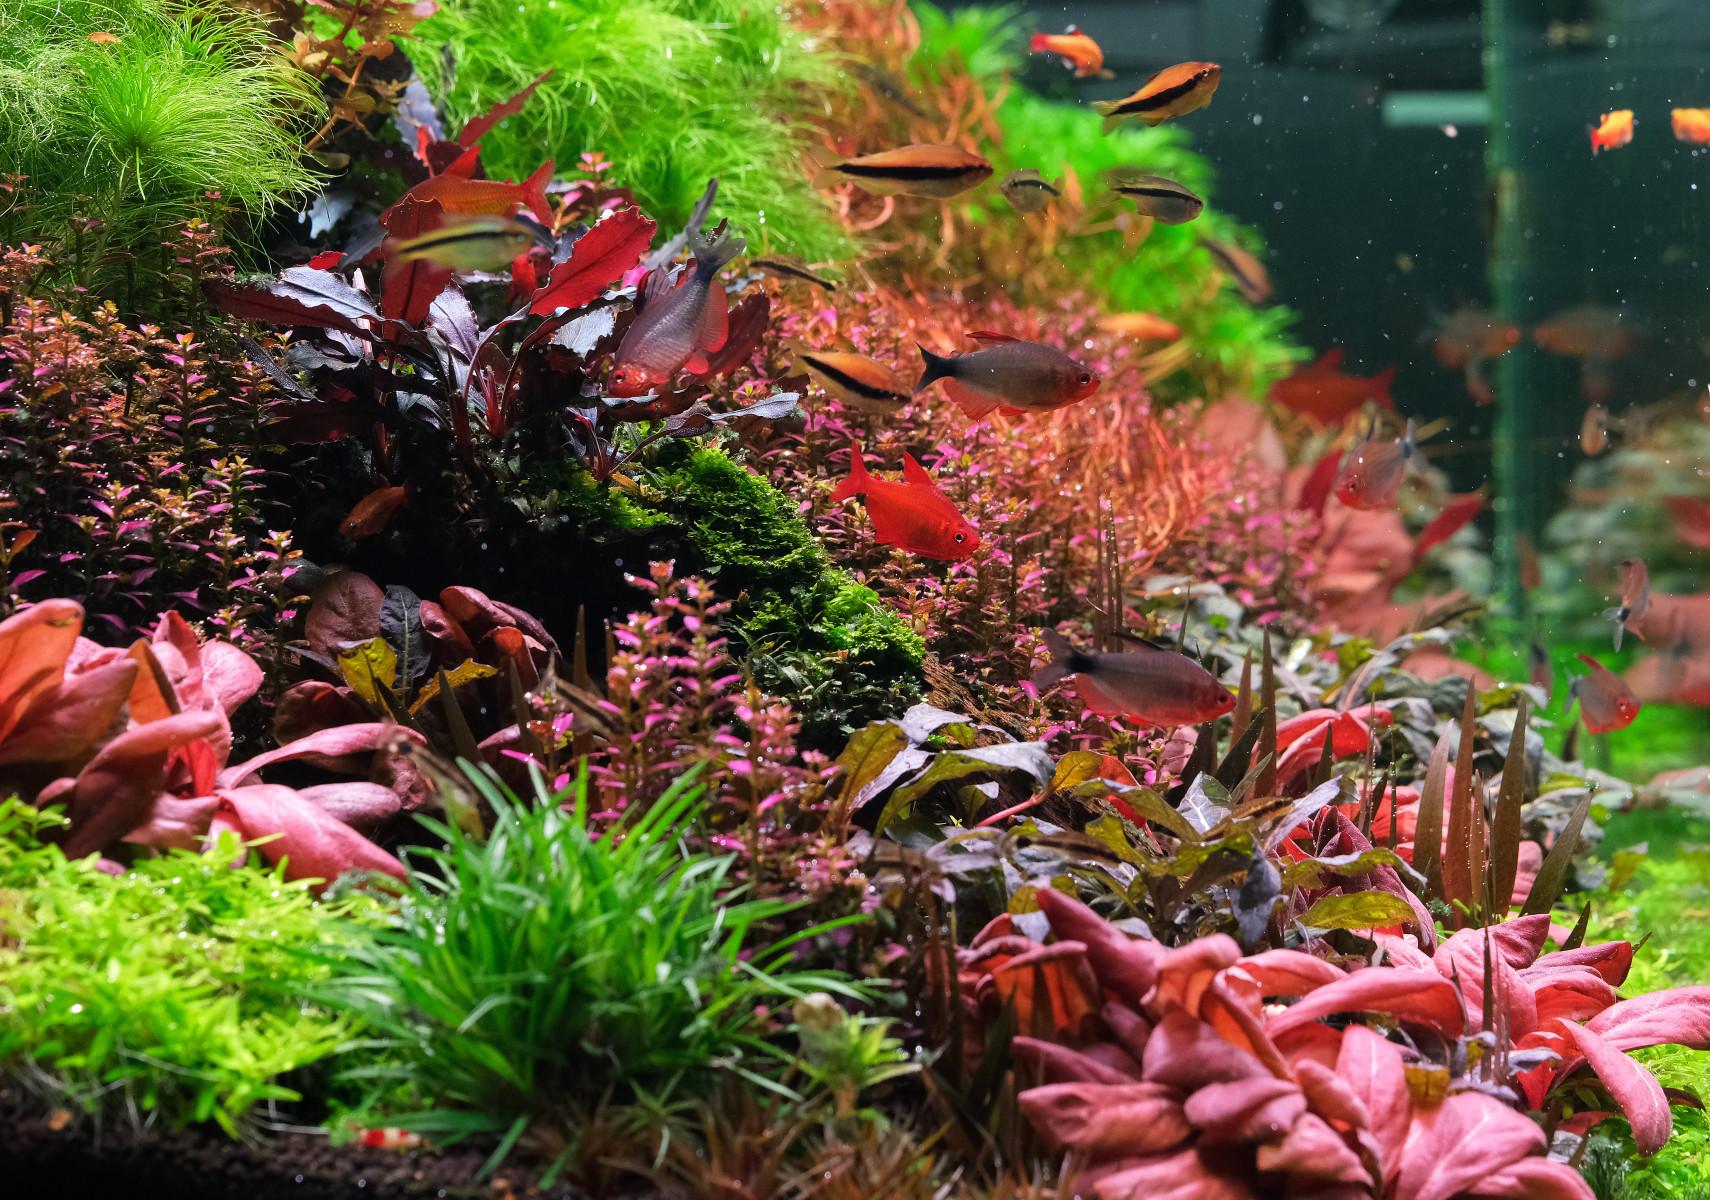
The bubble counter stream of bubbles that supply this 65 gallon aquarium is too fast for the eye to count - it appears as a continuous stream. The pH drops to 5.0 when CO2 saturation is at its peak.
Fish should be added to the aquarium when CO2 levels are at a low point. This is especially so for aquariums that target high CO2 saturation levels during the day. A gradual increase in CO2 levels is recommended to allow fish to acclimate. CO2 does not off-gas immediately when the CO2 system is turned off-it can take many hours for CO2 to dissipate. If one does not want to wait, a large water change (50%) can reset levels quickly.
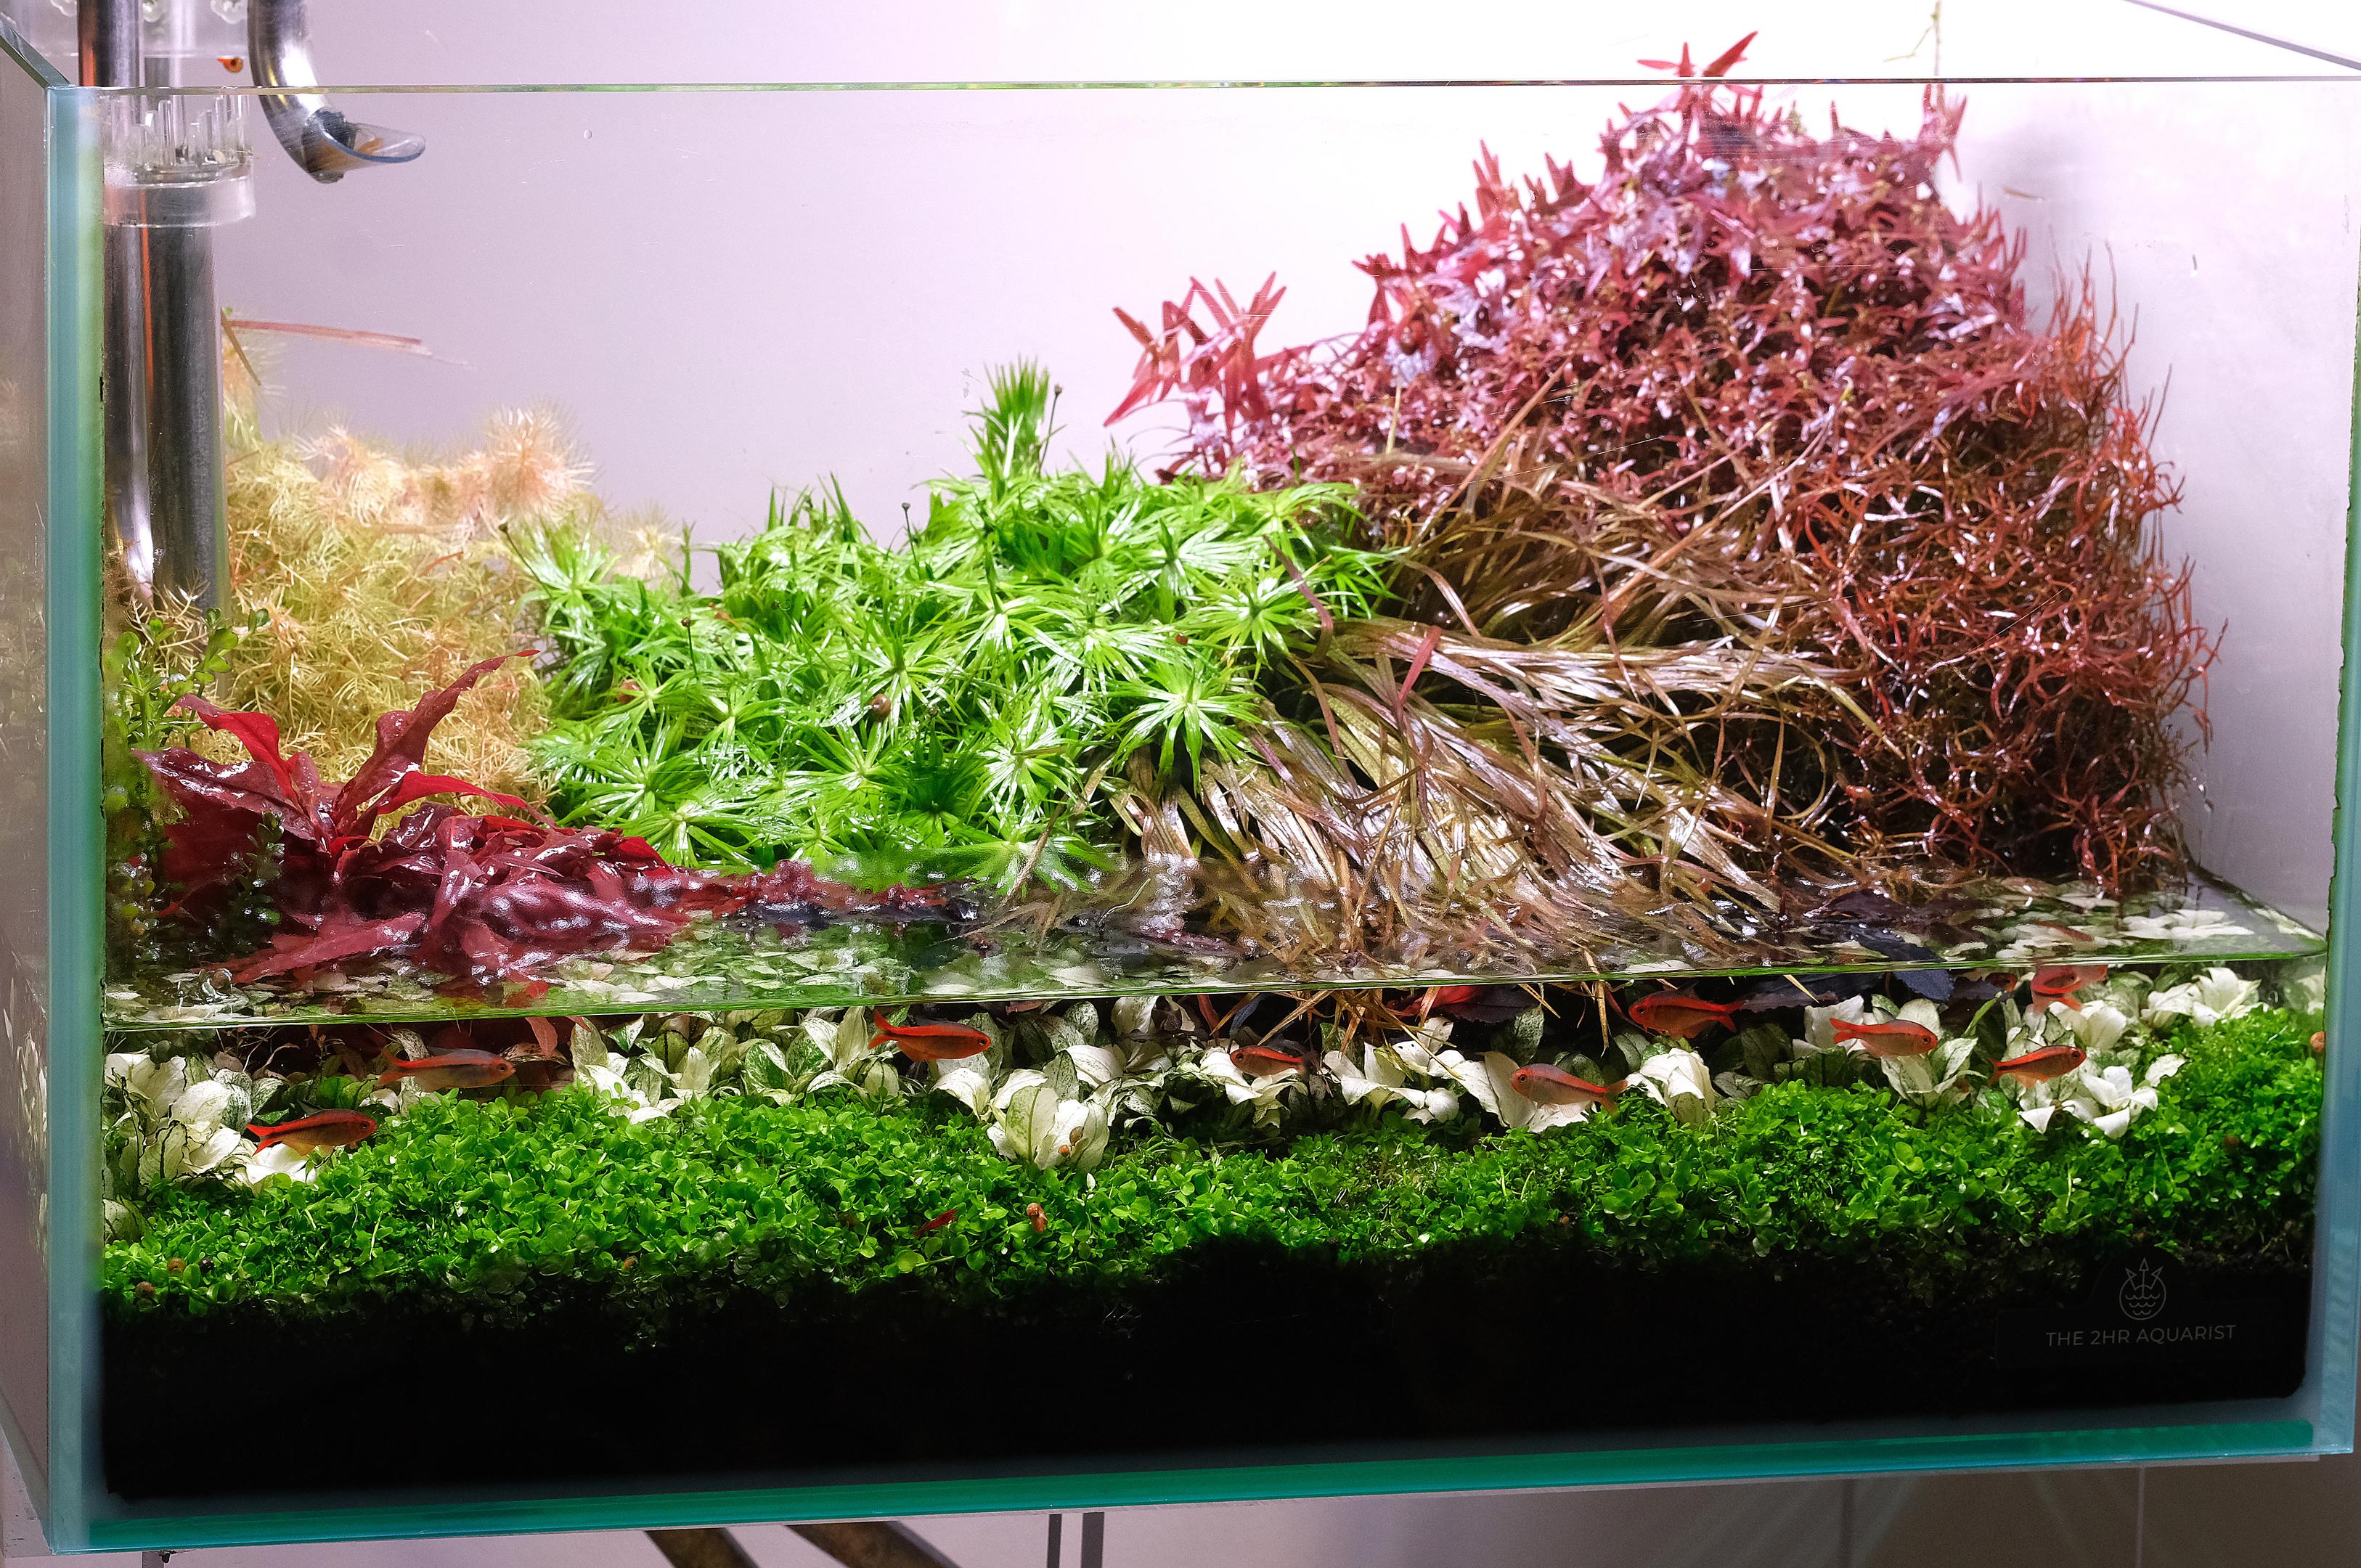
If you want to know whether the system is working, stop obsessing over old leaves. Look at new growth of the aquatic plants. Plants produce new leaves adapted to the current environment, and shed older leaves that contain machinery optimized for conditions that no longer exist.
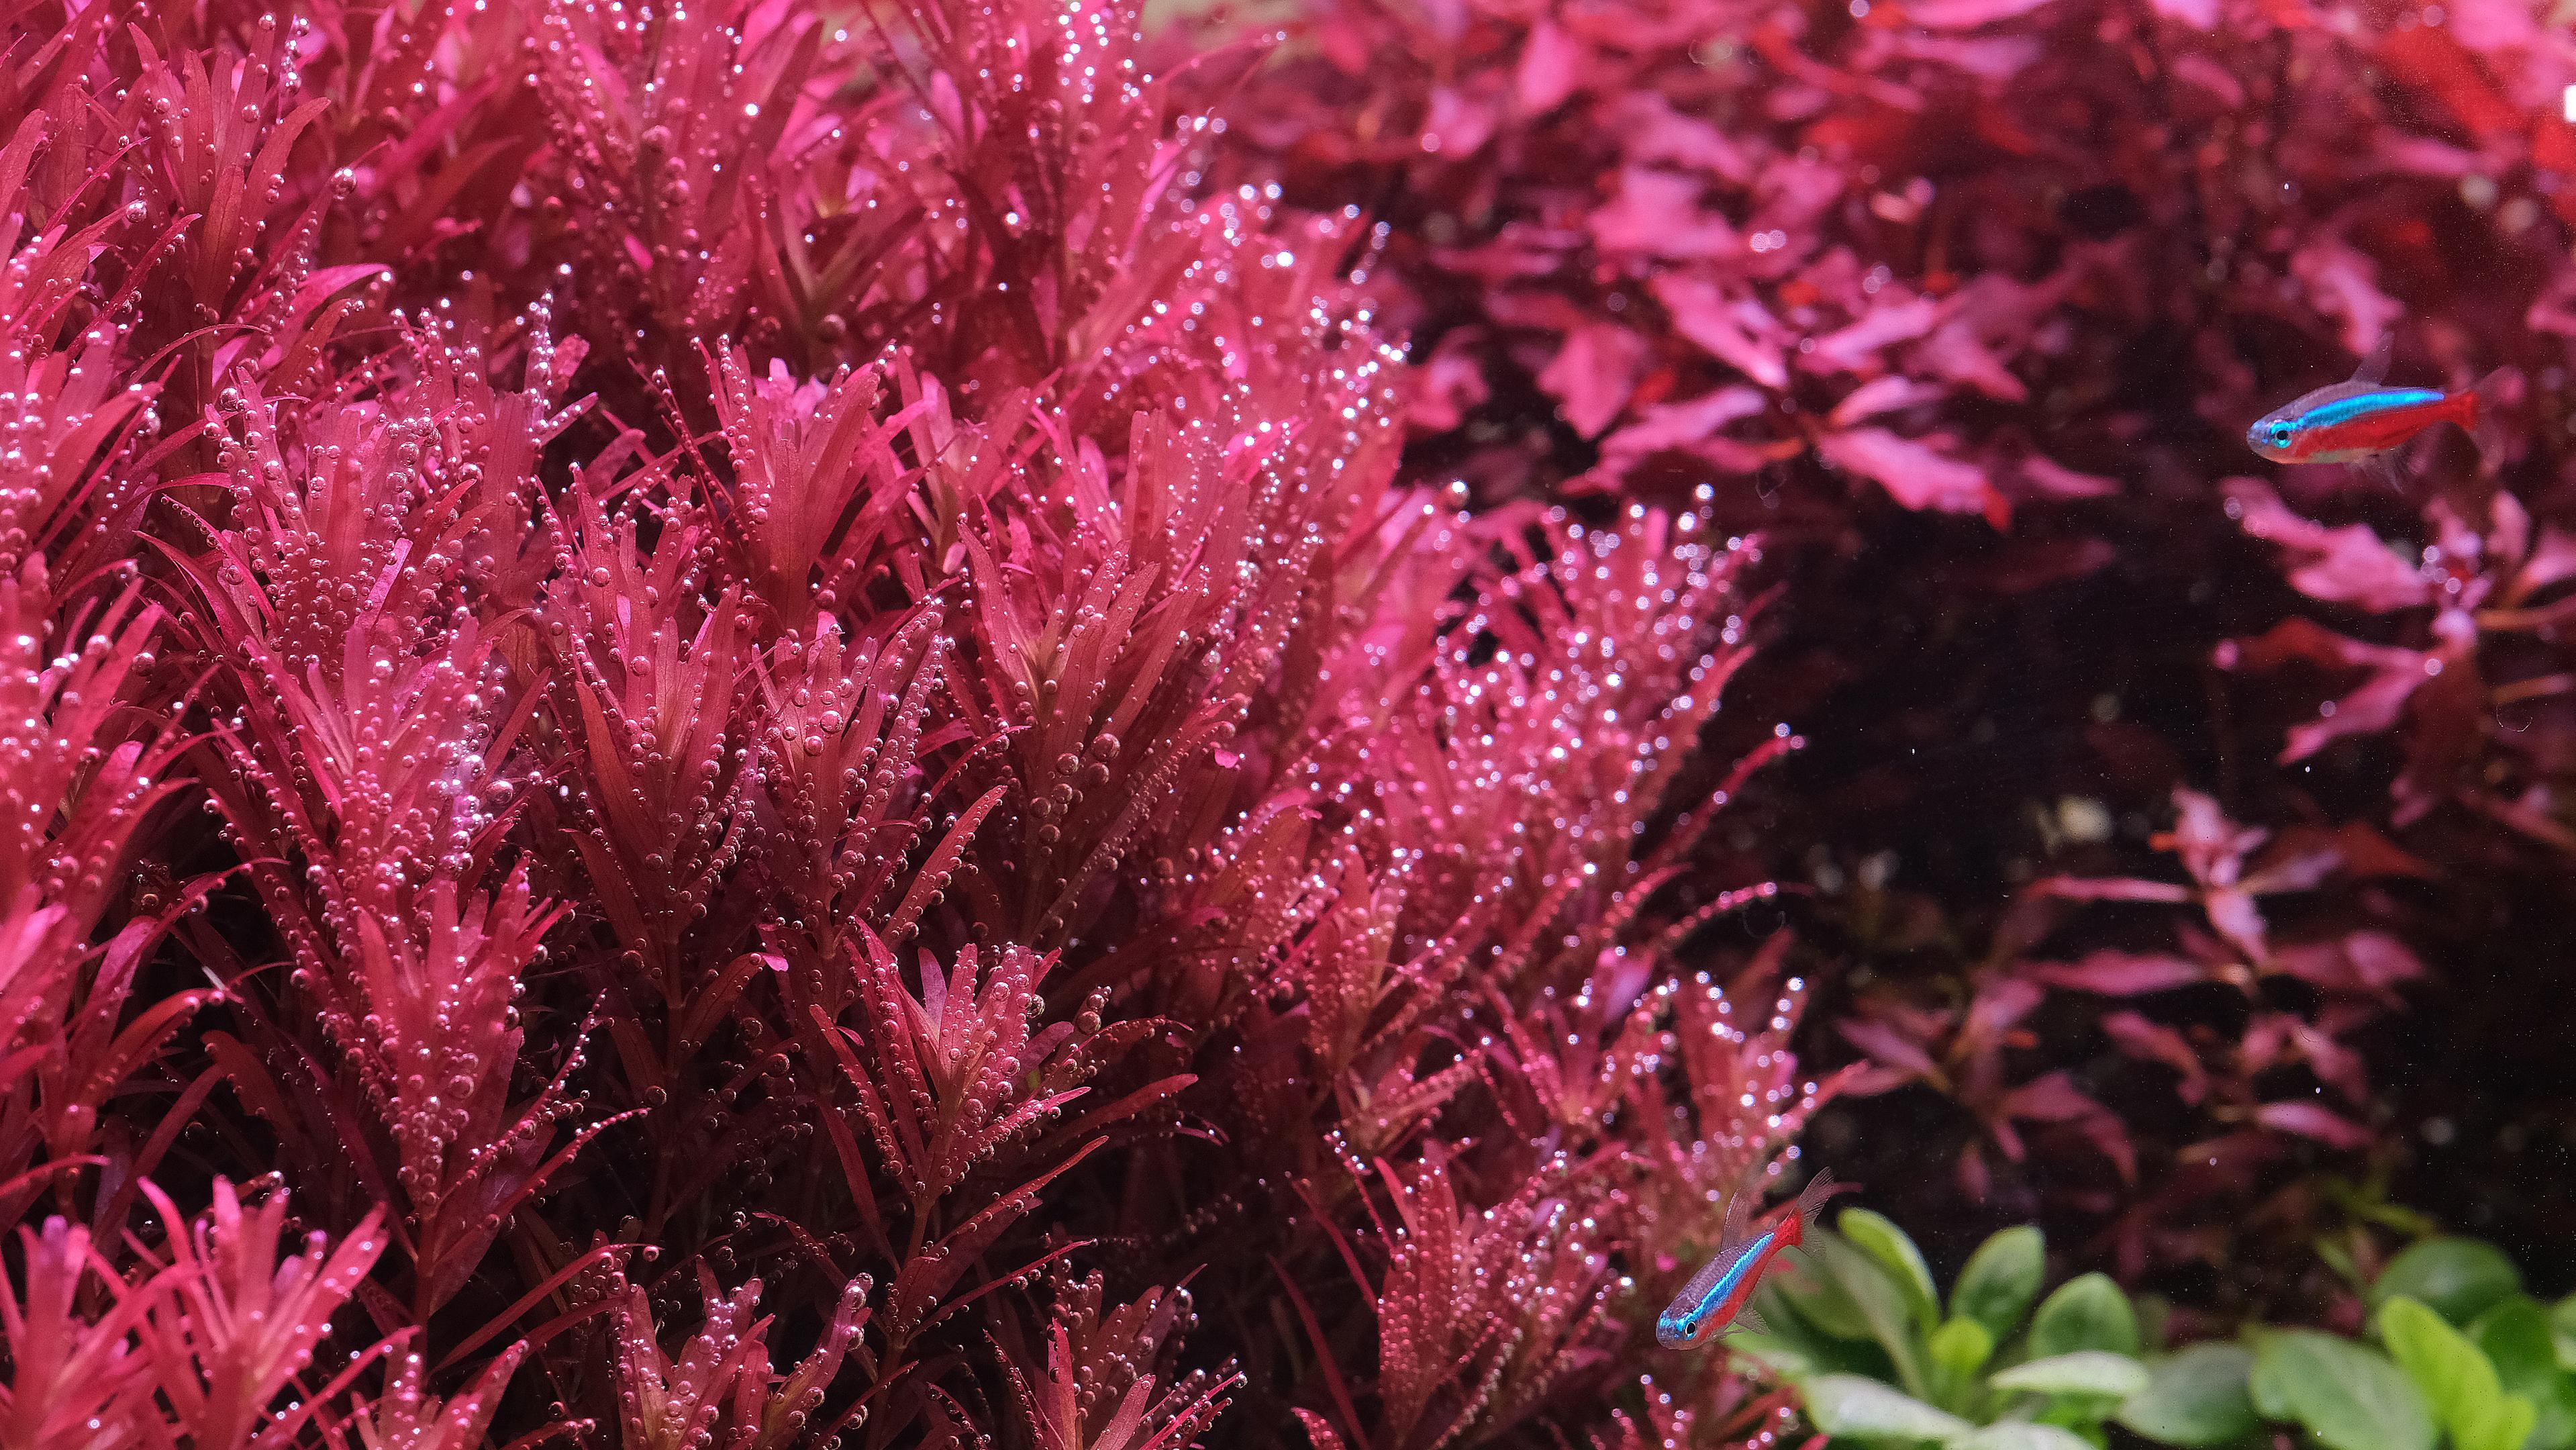
Healthy new leaves should be fuller, larger, and better formed. Stem plants react fast, and will often be the first to benefit. Carpeting plants should creep instead of reaching upward like they are trying to file a complaint. Pearling can happen when plants are photosynthesizing so strongly that oxygen saturates the water and forms visible bubbles on leaves. Lovely sight. Not proof of perfect CO2, but usually a sign the system is at least doing something useful.
Fish will give hints that CO2 levels are too high. The first signs of elevated CO2 are subtle - fish becomes lethargic and feed less readily. If they gasp near the surface, it is a sure sign that CO2 levels have built up excessively, tune down CO2 and improve gas exchange. As an emergency measure, a large water change will bring down CO2 levels quickly.
Good surface movement and circulation between surface water and deeper layers let oxygen stay high while excess CO2 can off-gas safely.
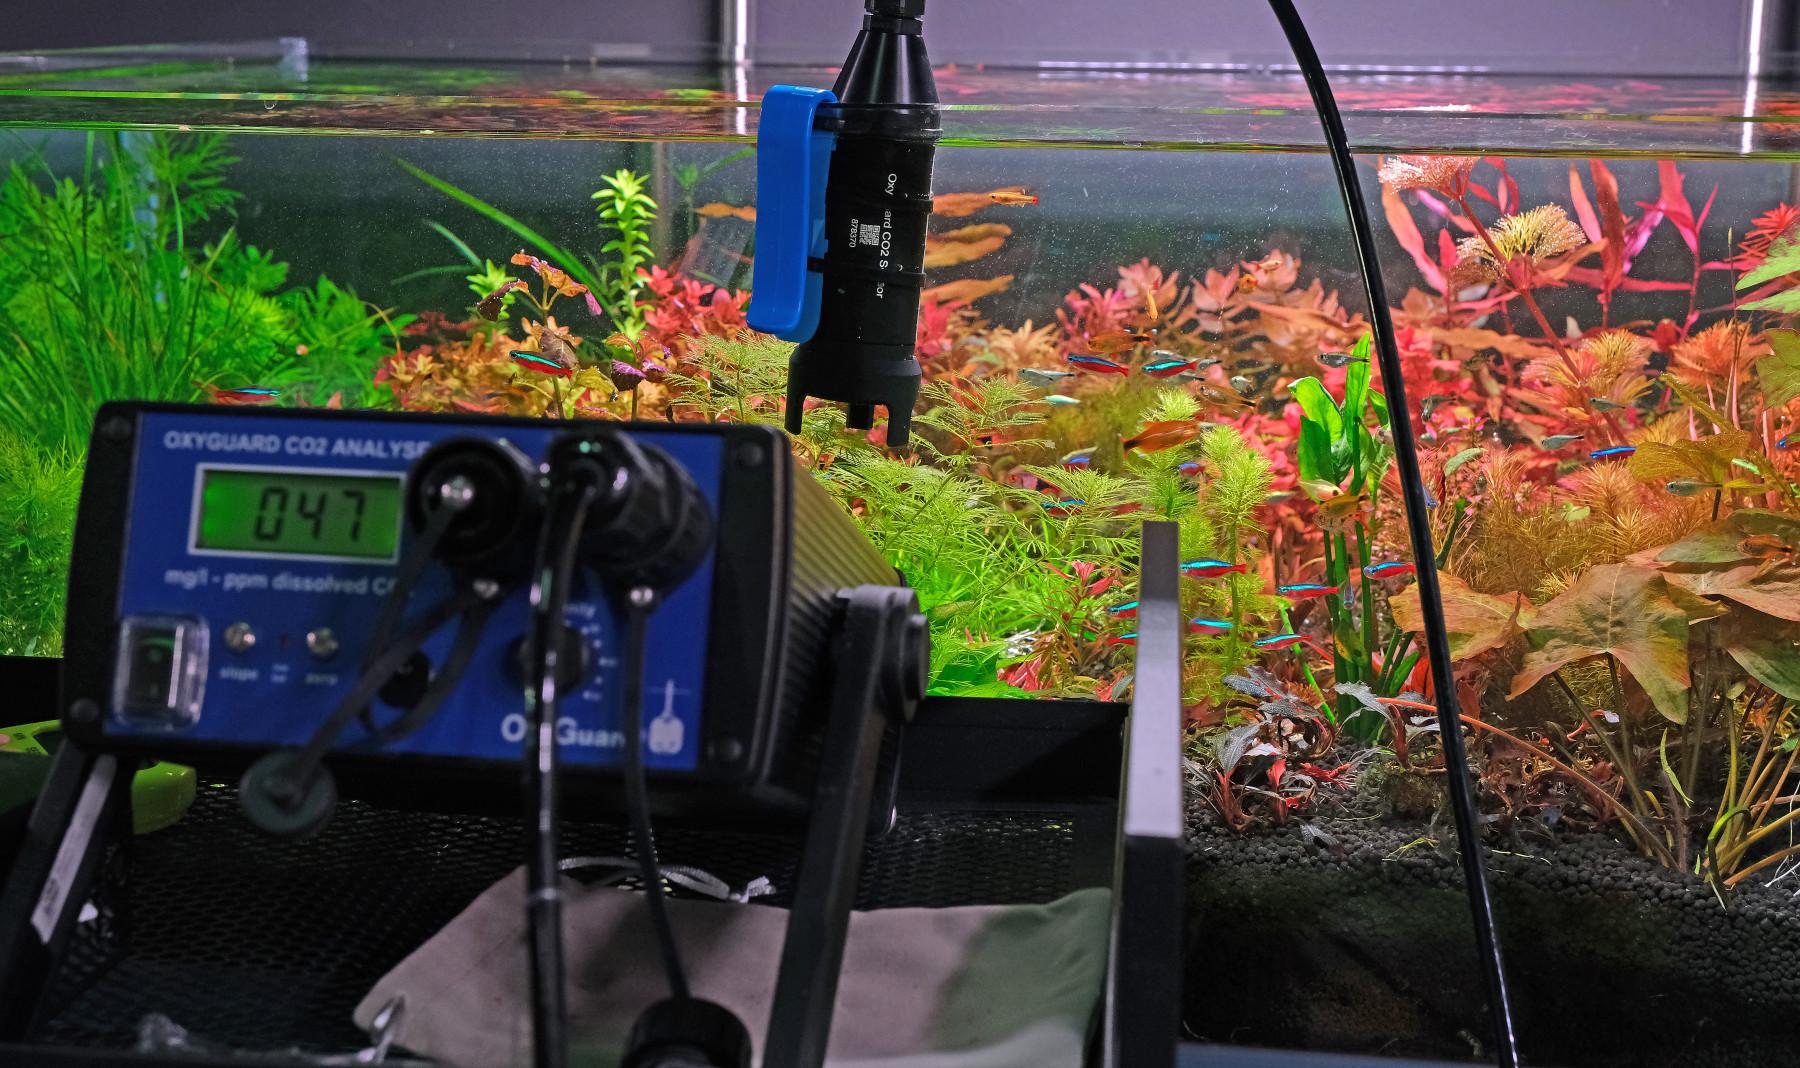
Most common fish such as smaller tetras/barbs only start to show signs of distress in the 60-70ppm CO2 range. Otocinclus catfish will start hanging out nearer the water surface towards 60ppm of CO2. This gives quite a big margin for error in injecting CO2. Discus are more sensitive to CO2 and start showing distress towards 40ppm of CO2.
This bit matters because people love to chase red plants with iron bottles.
While light is the main factor that stimulates red plants to produce pigments, Carbon dioxide availability plays a large role by providing plants with the energy to do so through boosting photosynthesis. Nutrients, light and CO2 work in combination to produce plant growth with better colors. All three must be present sufficiently. Iron alone, or light alone, doesn't stimulate pigmentation significantly. Plants not only require a complete nutrient set to grow optimally, but also good horticulture approaches - trimming and replanting, management of substrate zone issues.
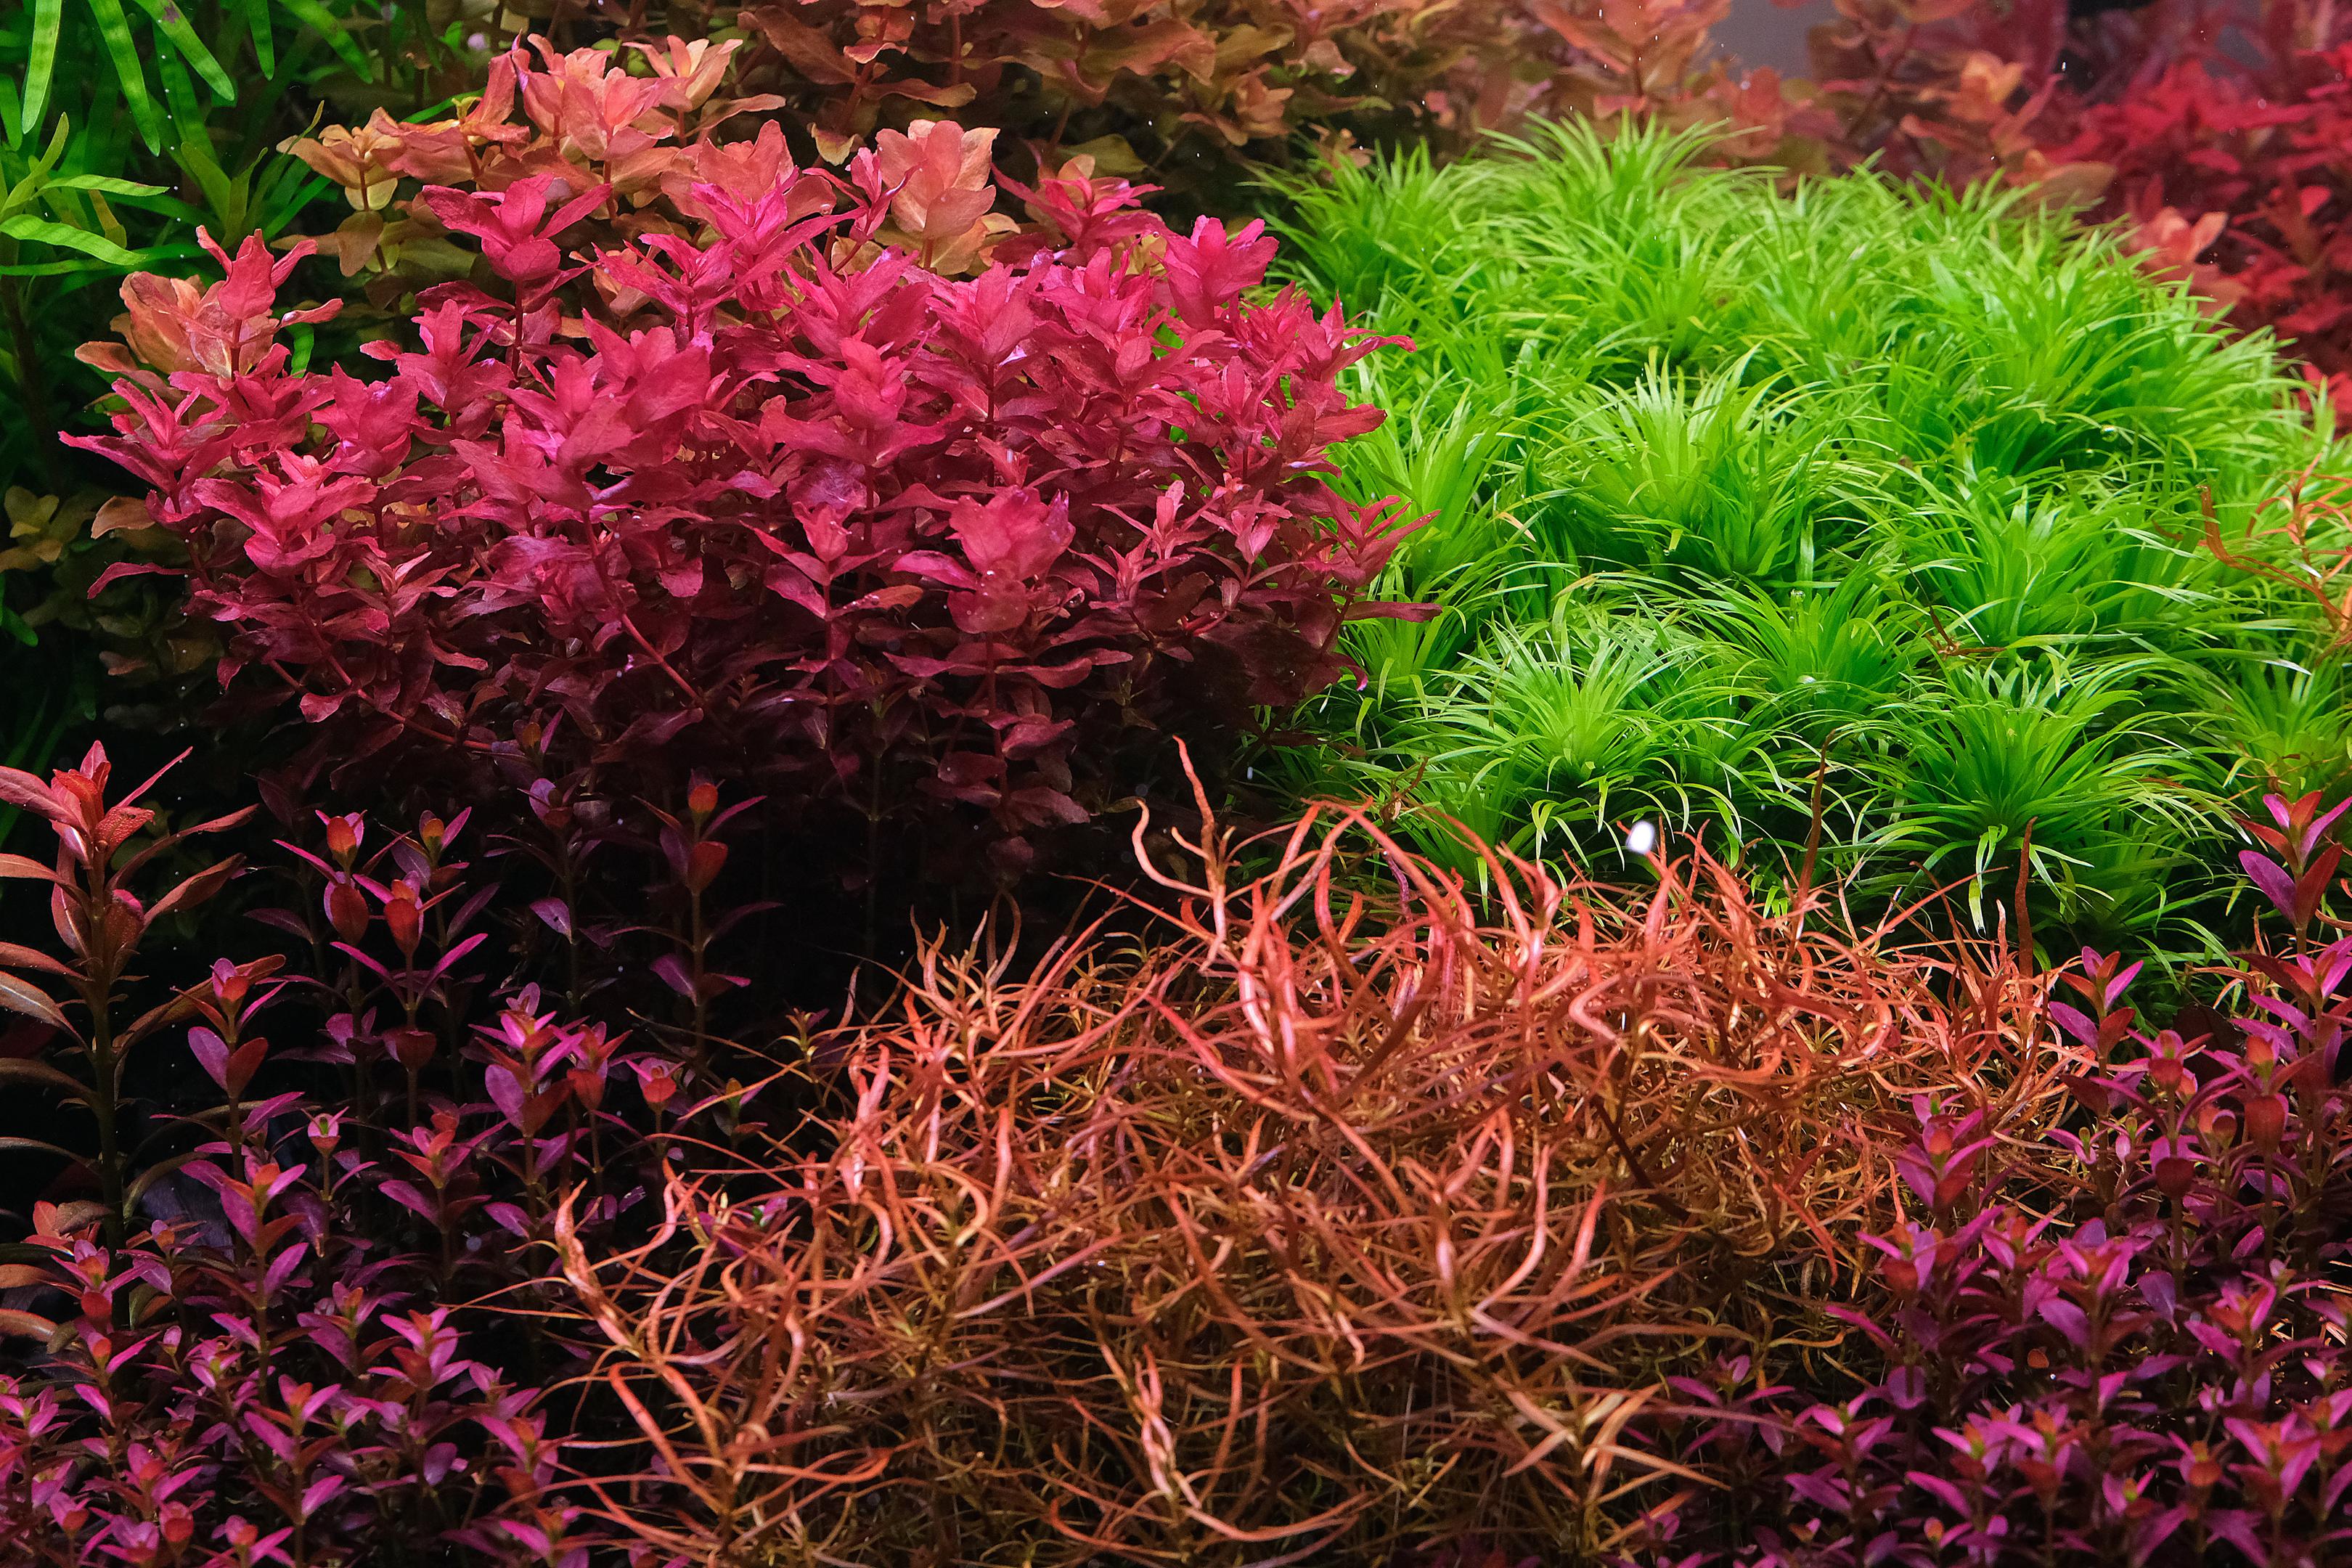
Checkfor leaks, clean water surface, and ensure sufficient turnover before you start CO2 injection.
Measure CO2 with the relative pH drop method. If not, at least use a drop checker. Bubbles per second does not measure CO2 saturation in the aquarium to any accuracy.
Watch animal behavior if you adjust CO2. Watch new plant growth for whether CO2 saturation levels are sufficient.
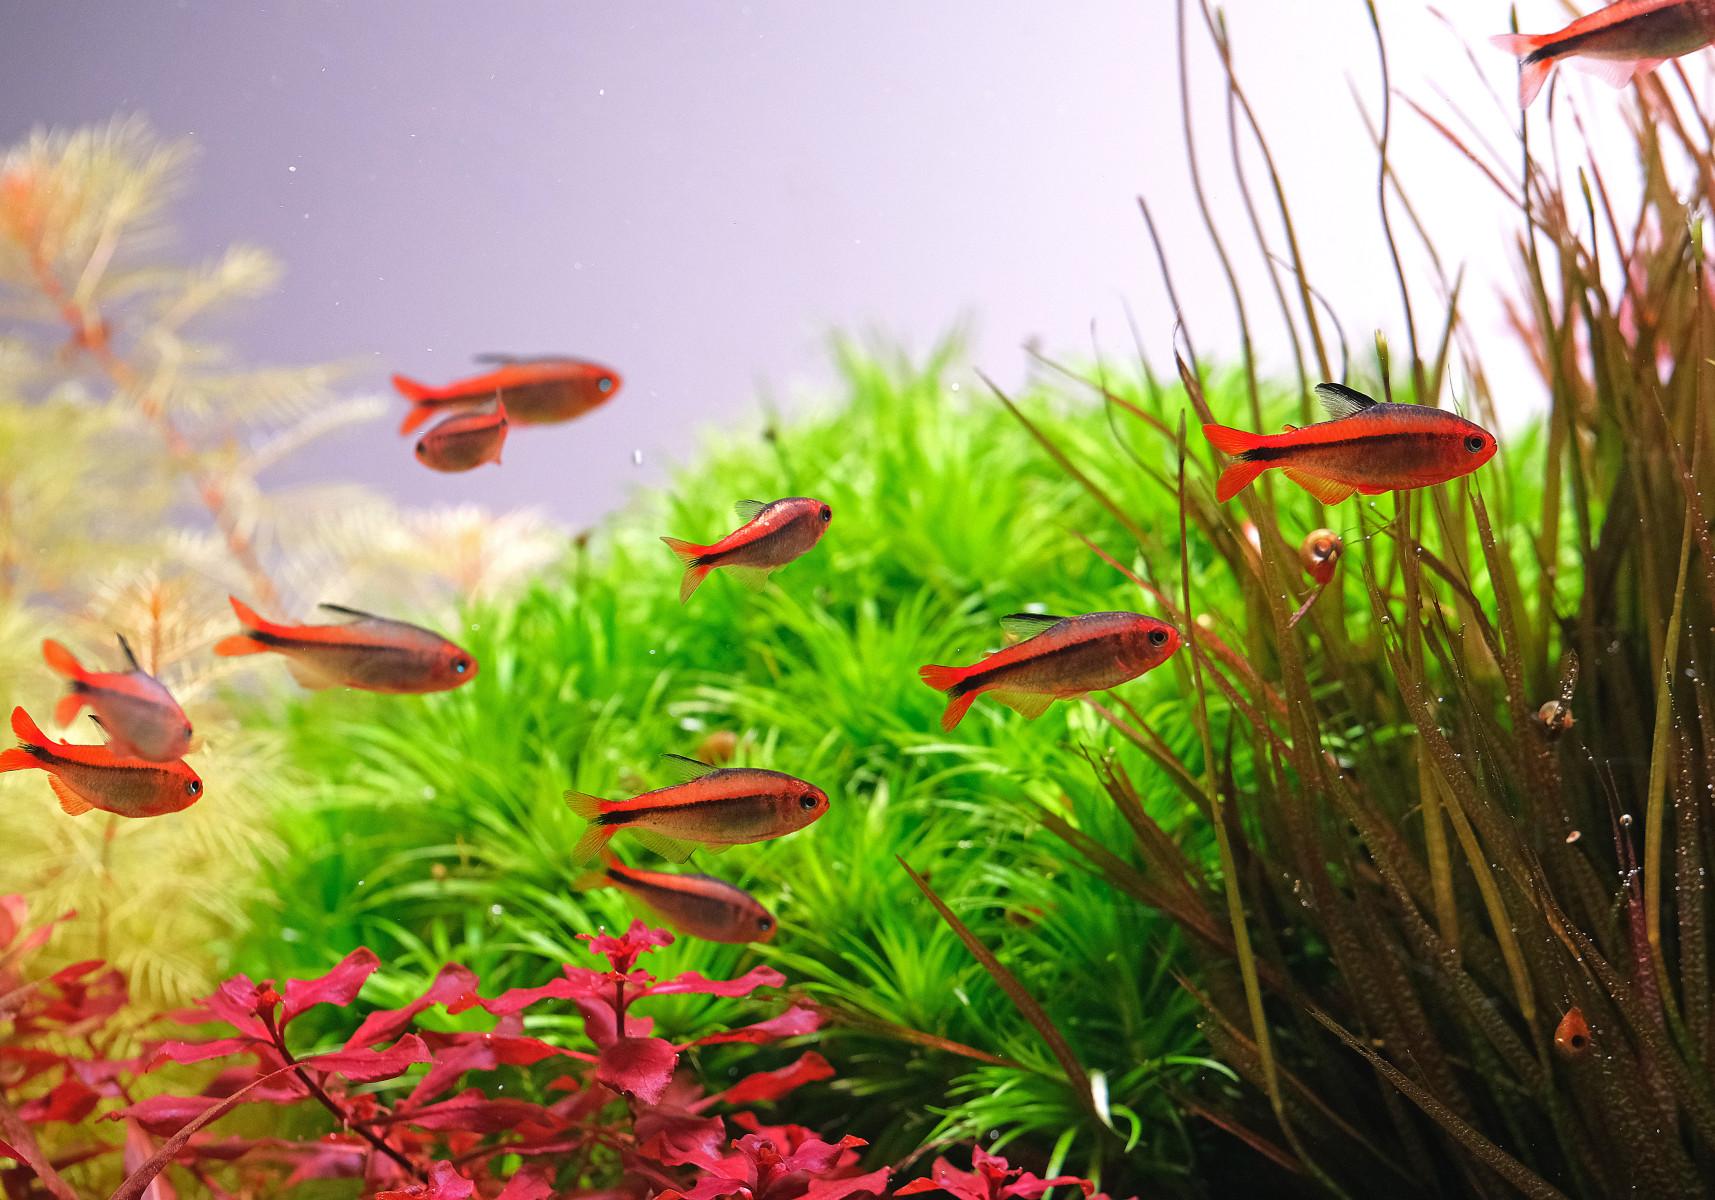
When CO2 is used effectively, rapid plant growth helps absorb nitrates and other harmful compounds, creating a safer environment for fish.
Another myth in the planted tank hobby is that CO2 injection must be paired with high light levels to be effective. Low-light CO2-injected aquariums are not only viable, they are far easier to manage compared to high light aquariums. Good CO2 levels provide significant boosts to growth and health to plants even in low light levels. High CO2 availability allows the plant to direct energy away from CO2-capturing activity to other functions such as growth or the production of light pigments.
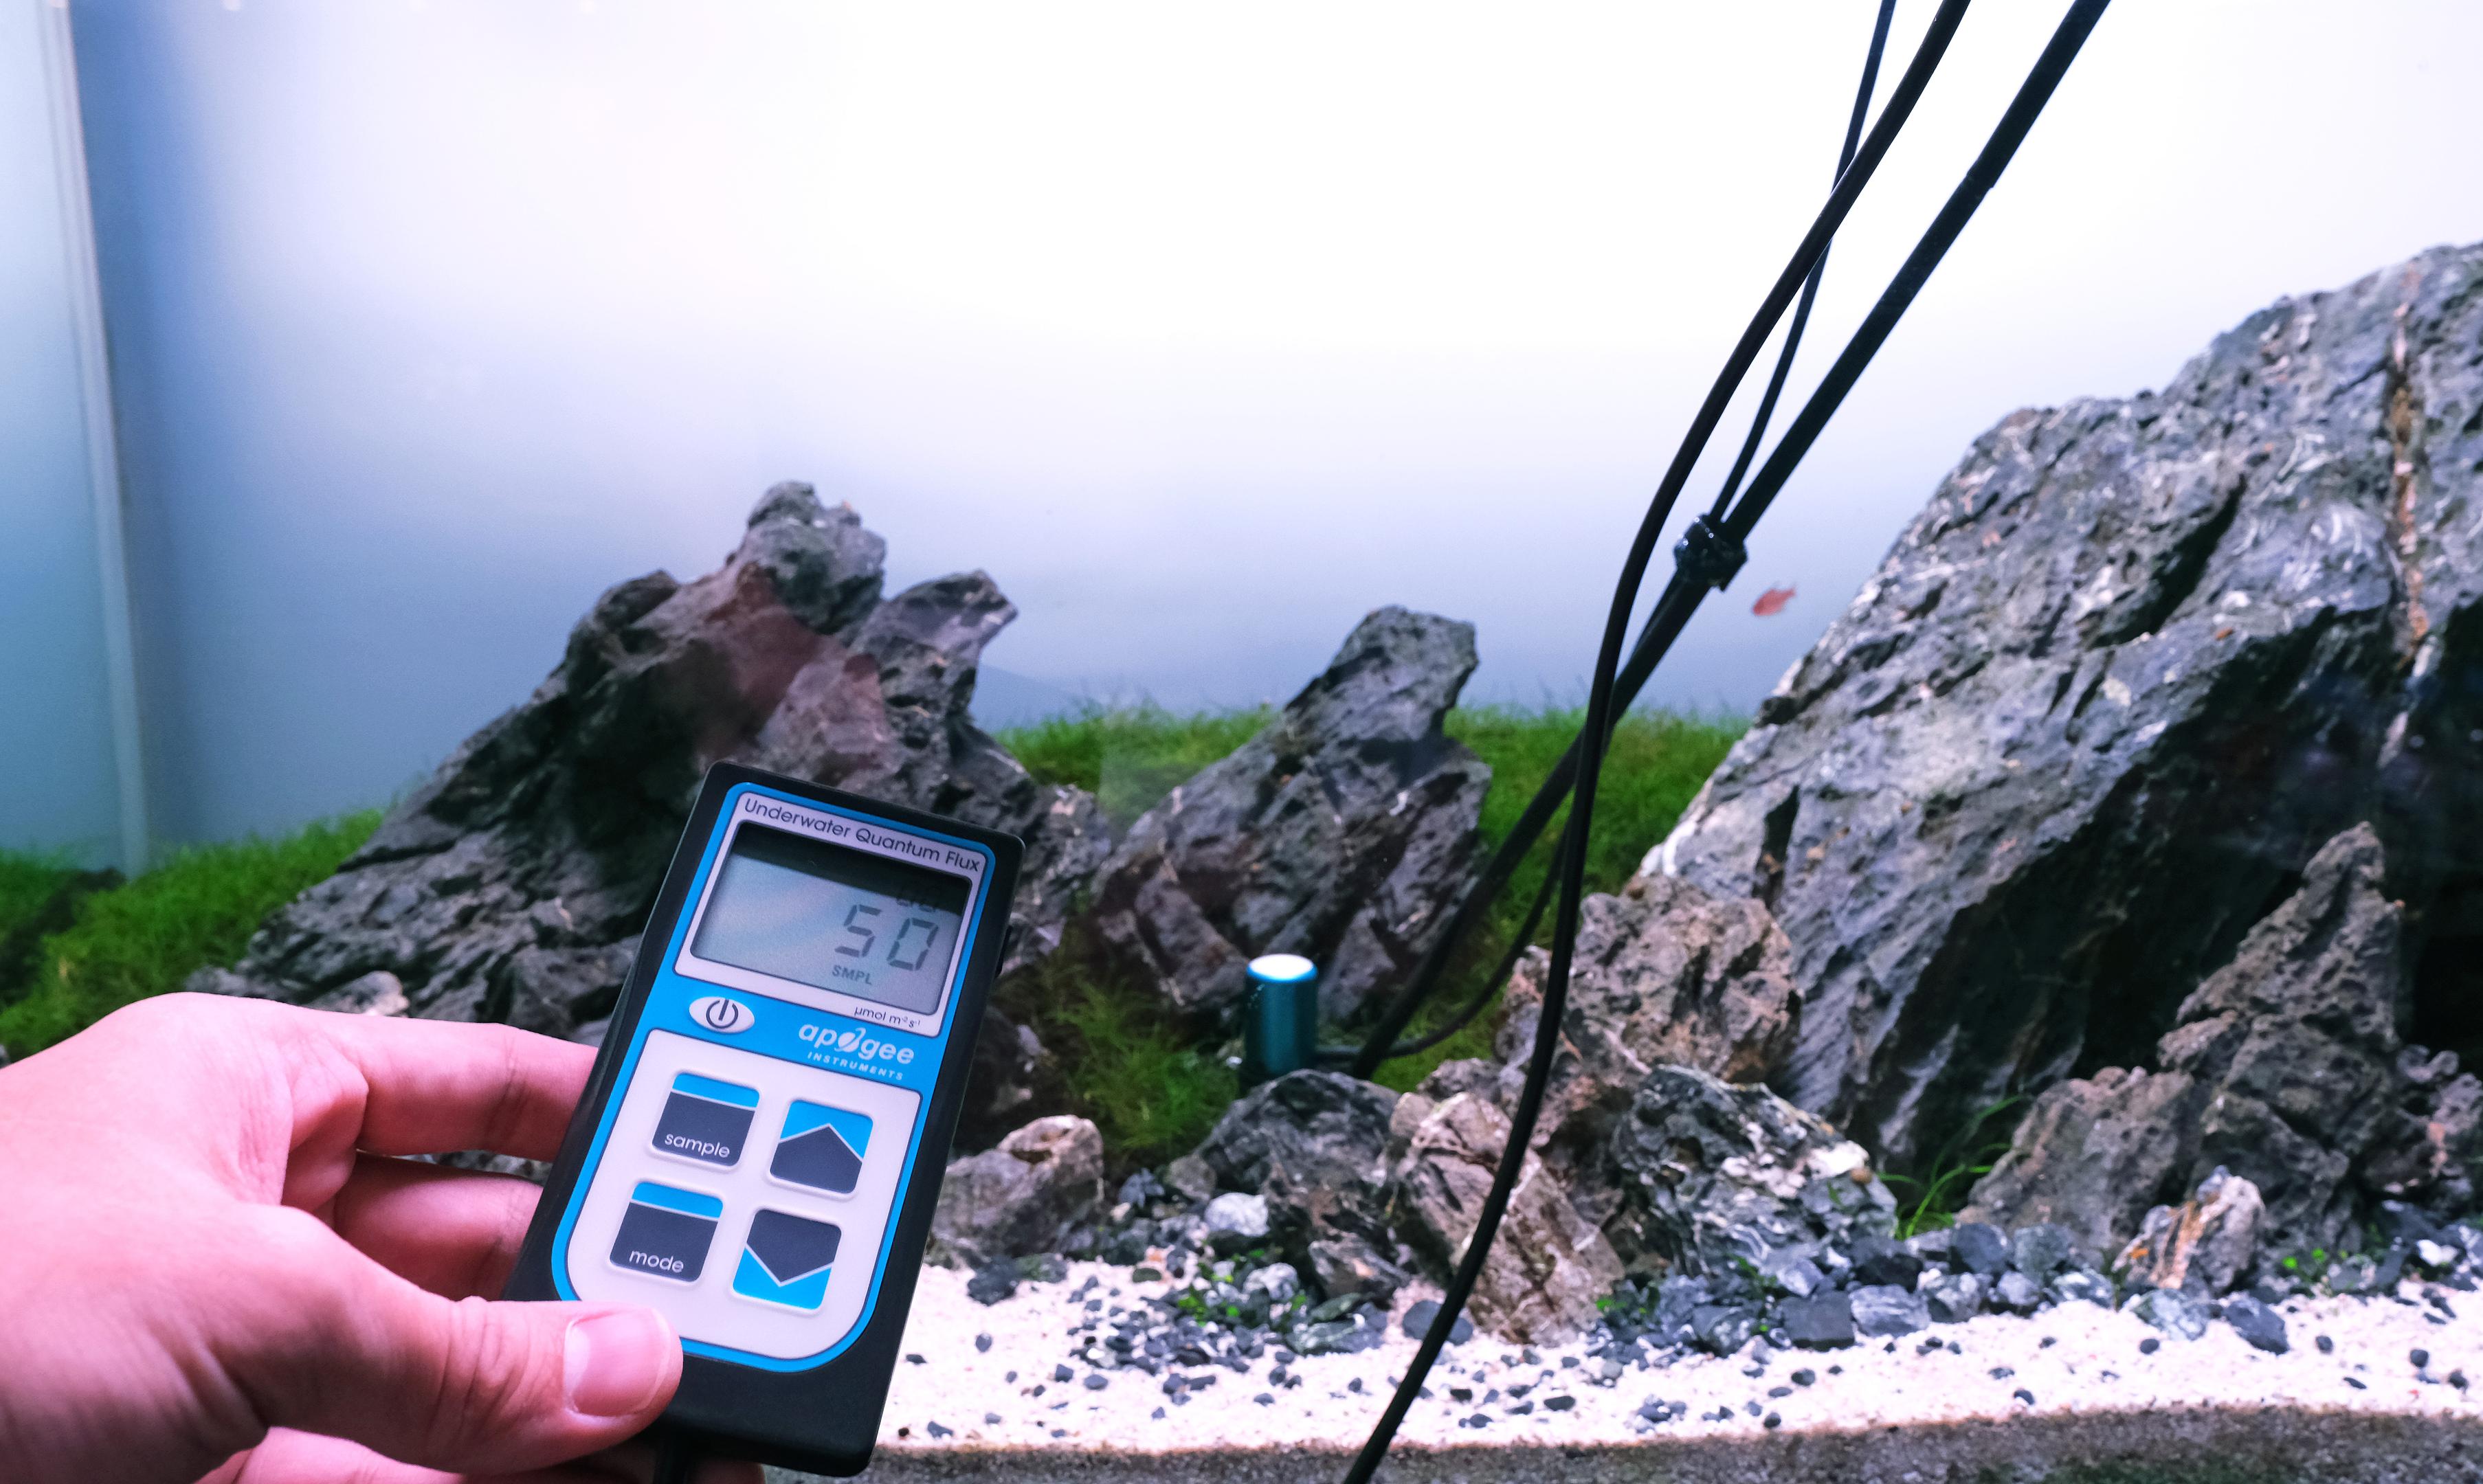
Most common green plants in the aquarium hobby do not require high light to grow. This includes all common carpeting plants in the aquarium hobby such as Dwarf hair grass and Monte carlo. Sufficient CO2 levels allow these plants to grow rapidly even in light levels as low as 40-50umols of PAR.
On the opposite end, running lower CO2 levels with high light is a viable, but risky approach. This approach has more negative trade-offs. Algae is easily triggered by higher light levels. Running low CO2 can bottleneck photosynthesis, and put plants at a disadvantage against algae. Why would anyone go for this combination you may ask? Experts with very well-managed aquariums can choose to lower CO2 levels to slow down plant growth rates deliberately, which reduces trimming and maintenance. These folks still run high light levels in order to benefit from the increased plant density and colors.
Most aquarists are better off having CO2 at optimal levels for plant growth, whether low or high light is used. The boost to growth is important for plants to out-compete algae, which is a key concern for most planted tank hobbyists.
For the deeper 2Hr Aquarist rabbit hole, the next things worth reading are CO2 diffusion methods, the relative pH drop method, and gaseous exchange.
Every APT product we make - the liquid fertilisers, algae treatments, substrates and water care that together form a complete approach to the planted aquarium, all built on the same empirical method. If you already know what you're after, it's here. If you're not sure where to start, each product page explains exactly where it fits.