

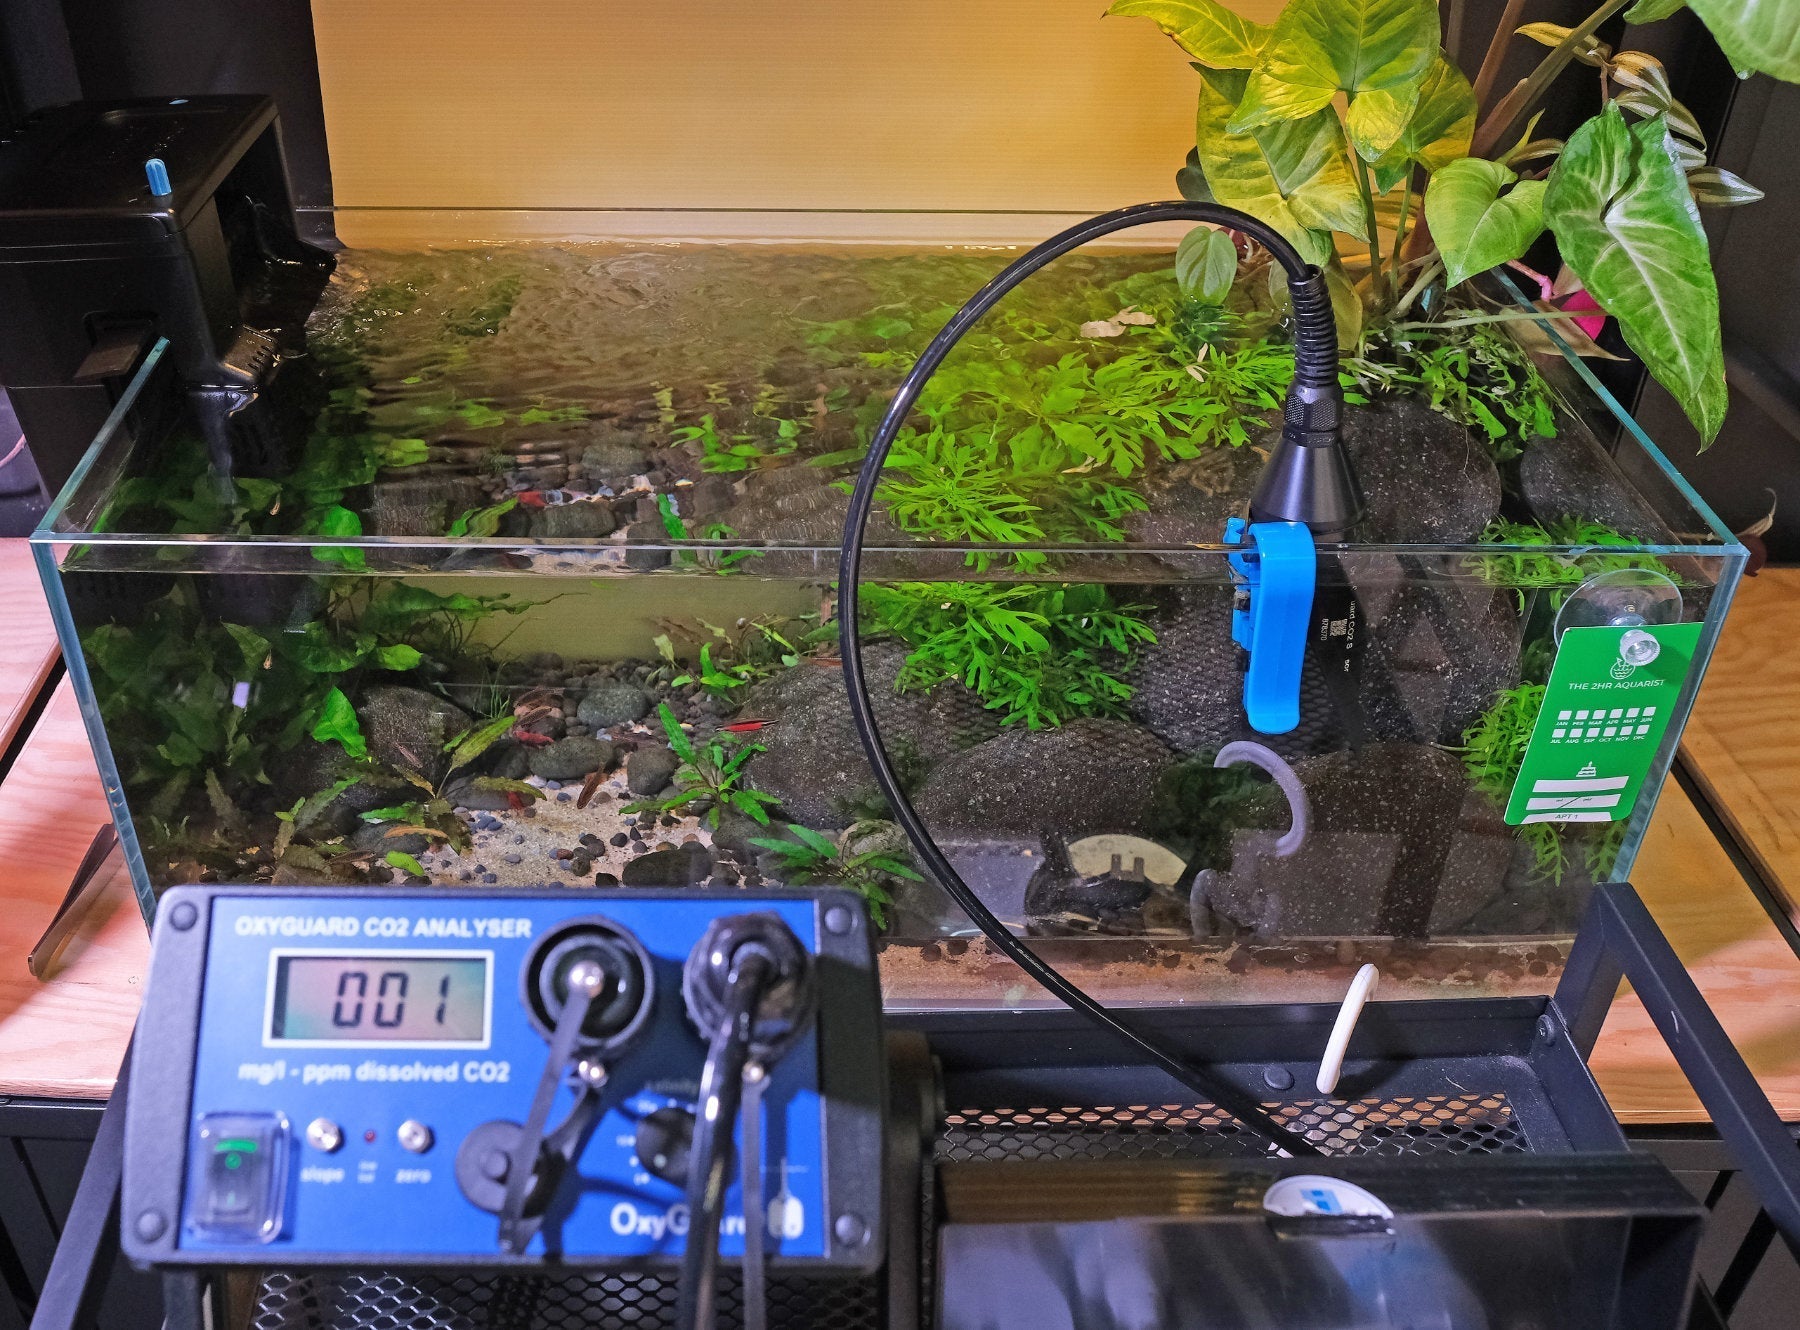
A CO2 diffuser is not just a bubble maker. It is the part of your CO2 system that breaks carbon dioxide gas into tiny bubbles so more of it can dissolve into aquarium water, reach aquarium plants, and drive better growth in a planted tank. The best method depends on tank volume, filter flow, how much mist you can tolerate, and whether you value clean aquascape visuals or easy tuning.
-
Smaller bubbles dissolve faster because they have more surface area relative to their volume.
-
A finer ceramic membrane, or tiny nanoholes in a good diffuser, produces superfine mist and more efficient dissolution.
-
Inline methods usually keep the aquarium cleaner-looking and need less frequent cleaning than in-tank units.
-
Regular maintenance matters: soak a new ceramic disc in water for 30 minutes before use, and clean clogged discs before they start producing coarse bubbles.
-
If bubbles enlarge over time, a 10 minute bleach soak followed by very thorough rinsing often restores performance.
What Should You Look for in a CO2 Diffuser?
Most of the difficulty is not technical. Search co2 diffuser and you get a nice glass model, then a stainless steel model, then an inline diffuser, then a shop shouting about stock, prices, free shipping, return windows, order dates listed, cancellation policy, recurring purchase, deferred purchase, payment method, authorized seller, and whether the item will be fulfilled by Tuesday. None of which tells whether the thing actually diffuses gas well :)
The part most hobbyists skip is the only part that decides performance. A CO2 diffuser is only as good as its membrane, its placement, and the flow pattern carrying those bubbles through the tank.
How Does a CO2 Diffuser Work?
The underlying process is surface-area transfer. That is the whole mechanism.
A CO2 diffuser takes a steady stream of high pressure carbon dioxide and forces it through a ceramic membrane, where the gas exits as bubbles. If the pores are very fine, those bubbles are smaller. Smaller bubbles have more surface area compared with their volume, so they dissolve faster into water before they reach the surface and escape. That is why a good ceramic disc, a fine-pored membrane, or a diffuser with tiny nanoholes performs better than a coarse one.
Once dissolved, CO2 becomes available to plants for photosynthesis, and part of it forms carbonic acid, which lowers pH. In a tank with stable KH, a well-tuned system drops pH by roughly 1 unit below its fully degassed baseline, which corresponds to somewhere near 30ppm CO2. That is normal and useful when controlled properly. Stop staring at bubble count alone. The real question is how much carbon dioxide gets diffused into the water column where plants can use it.
In-Tank CO2 Diffuser vs Inline Atomizer vs Reactor: Which Is Best?
There are three main diffusion methods, and each makes sense in the right tank.
|
Method |
How it works |
Best use |
Main drawback |
|---|---|---|---|
|
In-tank CO2 diffuser |
A glass, acrylic glass, or plastic CO2 diffuser sits inside the aquarium and releases tiny bubbles directly into the water. |
Small to medium tanks, simple setups, people who want easy installation. |
Clogs faster, visible in the tank, efficiency drops when dirty. |
|
Inline CO2 atomizer |
Installed in the hose between the external filter and the outlet, usually on the outflow line. |
Most high-tech tank setups, especially when you want less equipment visible. |
Can produce visible mist and needs decent pressure and flow. |
|
Inline CO2 reactor |
Dissolves gas inside a chamber on the filter line for very high dissolution. |
Larger tanks, people who want clear water with no visible bubbles. |
Bulkier, more finicky to size and tune, can reduce flow. |
While it may appear surprising, more bubbles alone does not mean more CO2. Bubble count measures what leaves the cylinder, not what dissolves. Large bubbles rise fast, spend very little time in contact with water, and vent most of their gas at the surface. A good CO2 diffuser produces a fine smoke-like mist. A poor model produces obvious bubbles that rocket to the surface and accomplish very little besides looking busy.
How do In-tank Diffusers work?

The most conventional device, it can be effective if used correctly. Ideally you should aim for a fine mist. It requires much more maintenance than in-line devices due to its exposure to the tank environment (i.e. it will clog up with debris etc.) and has more weaknesses compared to other methods. If you are using an in-tank diffuser, these tips may help:
Placement is critical
Placement in the tank is important. The diffuser should be placed in the down wash flow; see picture below. Given the circulating flow pattern created by the filter outflow; the diffuser should be placed where the blue X is.
The flow should carry the bubbles from the blue to the other end of the tank. If the bubbles rise vertically from the X instead of floating down with the downward current, it means that either the diffuser is ineffective; producing bubbles that are too large, or that the amount of flow in the tank is too weak.

Key Downside
The downside of in-tank diffusers is that their efficacy relies on their cleanliness, as well as consistency of flow pattern in the tank. As the diffuser clogs, efficiency is affected. Similarly, filters can slow down as they get clogged, affecting flow. Due to most hobbyists being not super-consistent with tank cleanliness, this often results in fluctuating CO2 levels. Being in tank also means that it can be blocked by plant growth.
As mentioned, efficiency rate of CO2 diffuser in tank is affected by changes in flow pattern. For example, tanks using HOB filters where flow pattern change with the water level, or tanks where dense plant growth change the flow patterns over time will face unstable CO2 levels.
Even large sized tanks can be run using in-tank diffusers (if they are serviced regularly and flow is not obstructed).
How do Inline atomizers work?
Good ones produce a smoke-like fine mist.
Atomisers require far less frequent cleaning than in-tank equipment and are less affected by changes in the flow pattern in the tank than in-tank equipment. We see no reason to have more equipment in the tank, so we will always prefer to use inline atomisers over in-tank equipment.

The main disadvantage is that the fog can be visually distracting - many people prefer clear tanks. The advantage of constant fog is that you can observe the flow patterns in the tank; whether the flow is adequately hitting all the plants.

Quality Matters
Atomisers vary in quality; some produce a very fine smoke-like mist, while those that are not so well made produce more visible bubbles. We have not seen a brand that is 100% consistent, so when buying atomisers we advise you to buy from a shop that allows returns if the atomiser produces a mist that is not as fine as you would like.
Volume workhorse
Unlike reactors, which operate within certain flow and injection rates, inline atomisers can handle huge amounts of CO2 input. A single (well designed) nebuliser will be sufficient to fully saturate a 1000 gallon (3800L~) tank at normal injection rates, provided it is channeled through a strong flow.
Easy Maintenance
Similar to diffusers, nebulisers can be cleaned by soaking in bleach or H2O2 solution. Because they are not in the tank environment, they require much less maintenance - once every 2-3 months. This is one of the main advantages of inline equipment. Some inline nebulisers are easier to disassemble, depending on their design.
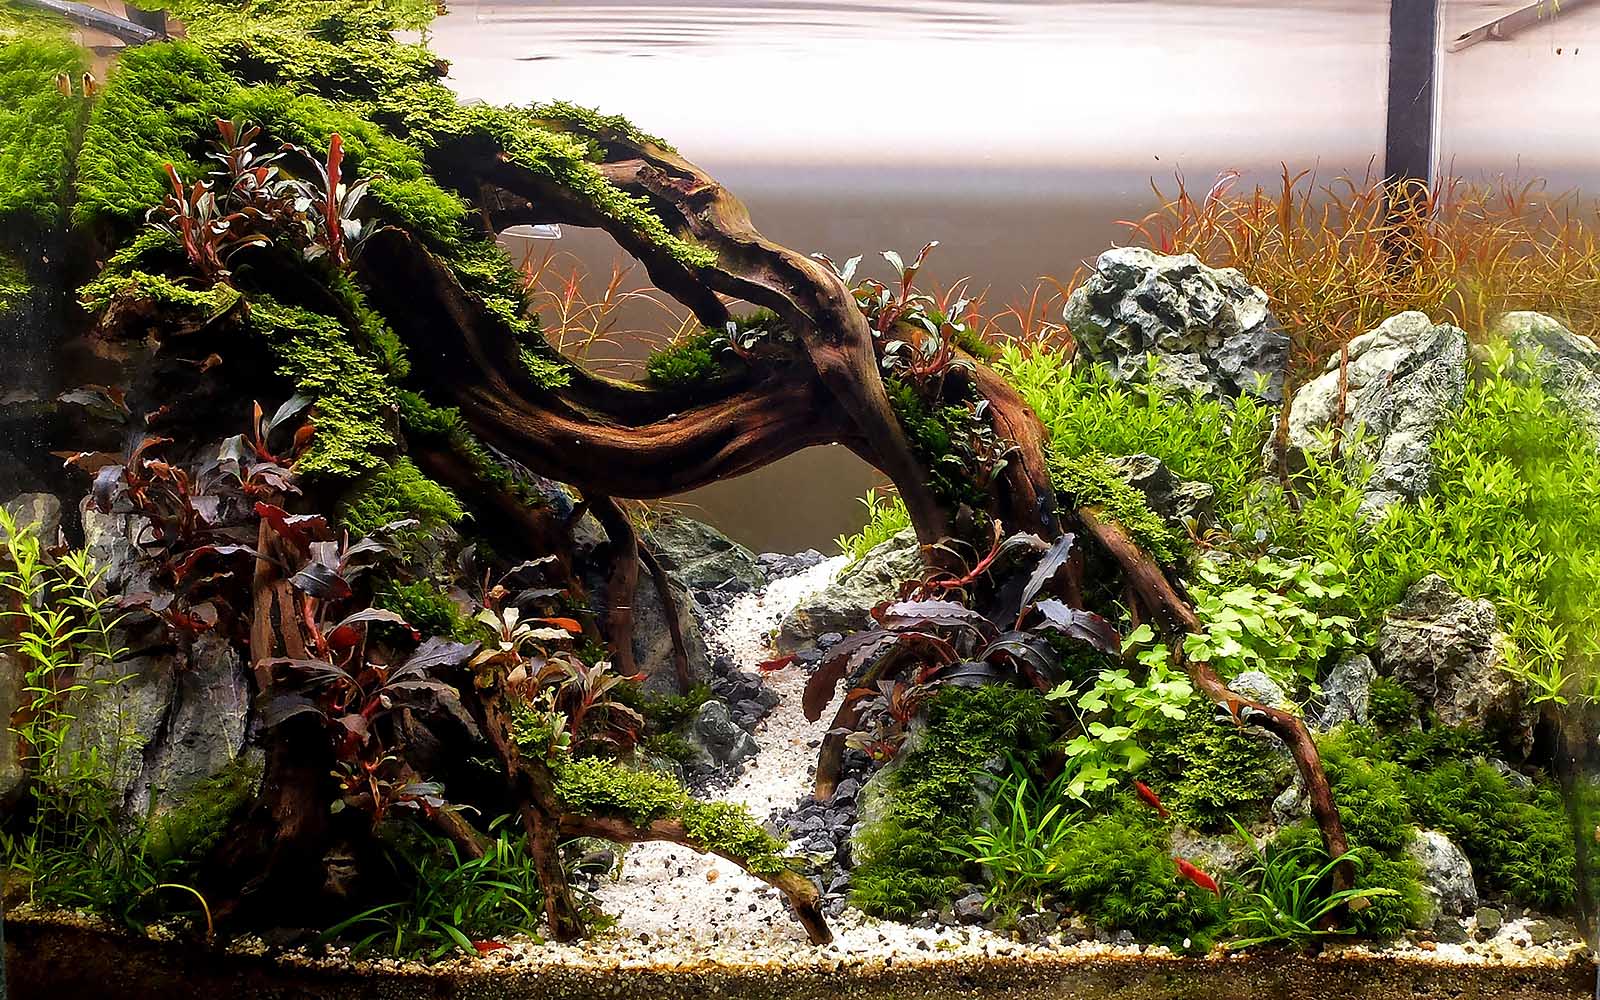
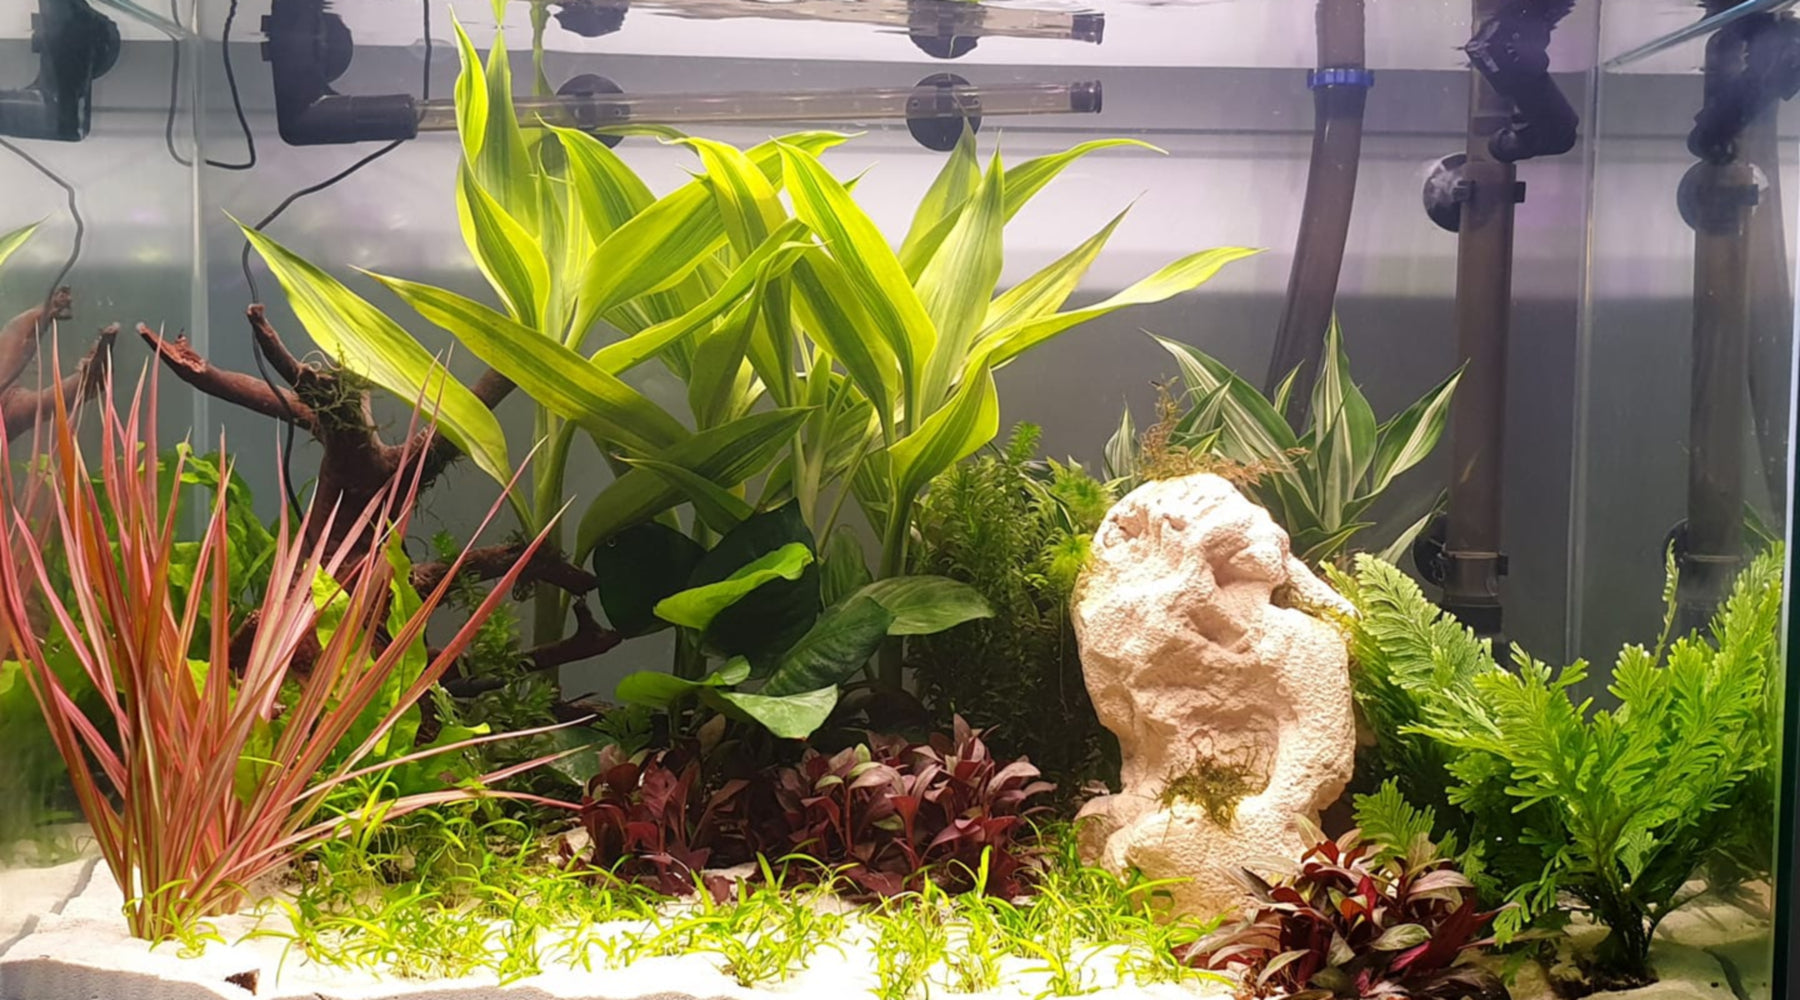
Inline atomisers and inline reactors reduce the need for equipment in crowded tanks. (sometimes equipment is even more obvious in small tanks) we use inline atomisers in most of our setups. In the 9.5 gallon (36 litre) tank above, both the surface skimmer and glass outlet are hidden behind the hardscape, and an inline atomiser is used to inject CO2 into the tank. Without the need to remove any equipment, the tank has a very clean look.
How do Inline reactors work?
Reactors aim for a 100% dissolution rate.
They are very efficient compared to atomisers/diffusers and are the ideal choice for people who can't stand CO2 mist in the tank. Their efficiency and dissolution rate will depend on the design of the particular reactor and the flow rate of the filter/pump driving it. They can be used on filter outlets, but they do reduce flow slightly.

Reactors can only handle a certain maximum injection rate for their design/size - so getting the right size for your tank is important. If your tank is larger than 250 litres, most commercial reactors that are shorter than the length of your arm will not be optimised to dissolve CO2 at a high injection rate into your tank. You would need to look for specialist retailers or DIY reactors that are larger in size, coupled with a way to get enough current through them. Many people who buy small commercial reactors for their large tanks end up not being able to achieve good saturation rates.

DIY reactors (Rex Grigg etc) can also be made cheaply using PVC tubing. They are not much more expensive than atomisers, despite the apparent bulk.
The only disadvantage of using reactors is that they do not produce CO2 fog, which plants can use directly. Many tanks grow well without fogging, so this isn't a major concern. Reactors should be the default choice for tanks if you do not want mist.
What are advantages of CO2 Mist?
The main disadvantage of misting is that it can be unsightly if bubbles obstruct the view of the tank.
The upside is that, according to data from controlled experiments published in the Barr report, plants can use CO2 fog directly for photosynthesis. This allows us to supply CO2 to plants above the maximum saturation rates of dissolved carbon dioxide that can affect animal respiration - this is the main advantage of CO2 fog. The Barr report reported a 25% increase in oxygen production (used as a proxy for photosynthesis) in the sample that had access to CO2 fog - compared to the sample that did not; even though the two test samples had the same level of dissolved CO2 in the water column.
Misting is not a necessity in most tanks, but we find it gives an advantage with difficult species or plants weakened by poor transport etc. For most tanks, achieving a good level of dissolved CO2 is sufficient to grow most species.
Another way to look at CO2 fog is that it allows you to have a lower dissolved CO2 rate while still getting carbon dioxide to the plants. This particular scenario may apply if you have very sensitive animals that prefer a lower level of dissolved CO2 in the tank.
Co2 Diffusion: The importance of flow
Especially for mist users, flow patterns in the aquarium greatly impact the efficacy of CO2 delivery. Some clues that you need to adjust / improve flow:
Uneven Growth
Some areas plants grow very well, while some areas have very poor plant growth, despite getting similar amount of light & fertilization. This is more obvious with difficult plants - which usually do visibly better in open areas with good flow, and do less well along the aquarium sides.
Confined Mist
The CO2 mist is confined to a specific area, or you observe that the mist from the diffuser/atomiser rises vertically from the diffuser.
Diffusers should always be placed in the downdraft of the water outflow stream; bubbles should be fine enough to be pulled down by the stream when they first exit the diffuser.
There should be good distribution of the mist, otherwise it may indicate that the diffuser/atomiser isn't producing a fine enough mist, or that the flow is too weak.
Algae in specific areas
In many setups, certain types of algae are found in certain areas of the tank.
For BBA, this may indicate areas where the flow is too turbulent (with CO2 mist). Installing outlets that provide a more even distribution may help.
Cladophora and hair algae can accumulate in areas where detritus accumulates due to the flow pattern. Planting more robust plants in problem areas and doing more cleaning to remove detritus build-up can help. Planting more robust plants in areas of poor current - where demanding plants don't grow as well - is one way of overcoming current problems.
Using Hang-On-Back Filters
The HOB outlet should flow horizontally rather than down to travel the length of the tank. The down wash flow should be strong enough to push the CO2 bubbles against the substrate and allow the mist to travel the length of the tank back to the filter inlet area.
This will not work if (a) the diffuser is not producing fine enough bubbles, (b) the flow is not strong enough, or (c) the flow pattern is wrong (HOB flow is down instead of horizontal).
The same applies if canister outlets are used instead of HOB.

What Makes a Good Ceramic CO2 Diffuser Membrane?
The ceramic membrane is the heart of the CO2 diffuser. The finer the pores, the finer the bubbles. That means better dissolution, more stable CO2 delivery, and fewer dead zones where plants struggle. The tradeoff is working pressure: fine-pored discs and atomizers generally need somewhere in the region of 20 to 30 psi to push gas through cleanly, so the membrane and the regulator have to be specified together. CO2 diffusers made of acrylic glass, plastic, or stainless steel can all work well if the membrane quality is high. The material of the outer body matters less than the quality of the disc and the working pressure needed to push gas through it.
This is why some aquarium plants look equipped for growth on paper but still stall in reality. The tank may have a regulator, hose, bubble counter, and CO2 diffuser included in the system, yet the actual membrane is poor and the bubbles are too large. A well-made cheap CO2 diffuser can outperform an expensive decorative one.
How Do You Know If Your CO2 Diffuser Is Working Properly?
The first signal is mist behavior. Fine bubbles (if using an in-tank diffuser or in-line atomizer) should be caught by the current, travel across the aquarium, and stay in contact with water long enough to dissolve. If bubbles shoot straight up, either the diffuser is dirty, the pore size is too coarse, or the flow pattern makes no sense. Placement near the bottom of the tank and in the path of a water current gives those bubbles more contact time. A drop checker held at green rather than blue confirms gas is reaching the water column, though it lags real conditions by an hour or more and tells you nothing about distribution.
The second signal is plant response. New leaves should come in larger, fuller, and more stable. Carpet plants should creep rather than stretch upward. Stem plants should hold better spacing, coloration, and density. If one side of the aquascape thrives while another lags, that is usually a circulation problem.
How Do You Set Up and Maintain a in-tank CO2 Diffuser?
-
Soak the ceramic disc in water for 30 minutes before first use. A wet membrane starts easier and produces a finer mist; a dry one releases large, uneven bubbles until it wets through.
-
Place the CO2 diffuser low in the tank where the outlet current can pull the mist across the aquarium. That improves circulation, contact time, and how much CO2 actually dissolves.
-
Clean the membrane regularly. Ceramic discs clog with biofilm and debris, and a clogged diffuser makes larger bubbles, less efficient diffusion, and unstable CO2.
-
Bleach the disc for 10 minutes in a dilute solution, roughly 1 part household bleach to 20 parts water, when the bubbles enlarge over time. Rinse thoroughly and dechlorinate before it goes back into service.
-
Match the method to the aquarium volume and filter. Small tanks can do nicely with a simple in-tank diffuser; larger or cleaner-looking layouts often benefit from inline atomizers or a properly sized reactor, and very large tanks may even need multiple diffusers.
Do Price and Brand Predict CO2 Diffuser Quality?
The criteria that get the most attention on a product page are usually the least predictive of performance.
Do not choose a CO2 diffuser by stock status, model number, quantity discount, dates listed, or whether the seller offers a continuing subscription, recurring or deferred purchase, or a payment method that defers the cost. A return window, cancellation policy, or whether an order is authorized and fulfilled quickly may matter for customer service, but none of it tells you if the membrane is good. That is the part that does the job.
What matters is this: does the model produce superfine mist, is the build clean, is the hose connection secure, is the pressure required within range for your regulator, is it easy to clean, and are replacement components available? Keep bleach, pressurized gas gear, and spare parts well away from children. Your aquarium plants do not care about marketing. They care whether carbon dioxide reaches them efficiently.

Glass, Stainless Steel, and Inline CO2 Diffusers Compared
The market offers a fairly wide range of CO2 diffusers across different materials and sizes, and it is worth knowing what the common options actually look.
Glass and acrylic glass diffusers are among the most visually popular choices in planted aquascaping, valued for their clean look and fine-pored ceramic membranes. Models like the ANS Opti Glass range are examples of glass designs made for different tank sizes, from nano setups to larger aquariums, with the ANS Opti Glass CO2 Diffuser Nano at the entry-level end. Stainless steel models such as the Dymax Stainless Steel CO2 Diffuser are noted for easy installation and are often chosen by hobbyists who want a more durable body alongside fine diffusion. Plastic-bodied diffusers are the most affordable entry point and can perform adequately when the membrane quality is good. Some brands extend the product line into companion items: the ANS Opti Glass CO2 Checker Set, for instance, pairs a diffuser with a checker tool.
The Aquario Neo CO2 Diffuser is widely discussed in the aquascape community for its tiny nanoholes that atomize carbon dioxide into a very fine mist. It comes in small, medium, and large variants, making it one of the cleaner examples of a size-matched design philosophy: match the diffuser to your total water volume rather than defaulting to one model for everything. That is the correct approach regardless of brand. For external setups, the Chihiros External CO2 Diffuser is an inline-style design that installs out of the tank, reducing visible equipment inside the aquascape.

Which CO2 Diffuser Is Right for Your Tank Size and Style?
In nature-style aquariums you may run gentler CO2 levels with modest light, often in the region of 10 to 15ppm. In that case, diffusion method matters less than overall stability. In high-tech tanks, especially those with demanding carpet plants or red stems held near 30ppm, diffusion quality becomes a major growth lever because the tank consumes carbon fast and punishes inconsistency.
Aquarium size also changes the recommendation. A small aquarium can use a glass CO2 diffuser and still look tidy if serviced often. A larger tank with an external filter usually makes more sense with an inline atomizer installed on the hose between the filter and outlet. For very large volume systems, or when you cannot stand visible bubbles, a reactor becomes the better choice. Whichever method you land on, the diffuser only sets how much gas enters the water; distribution and stability across the photoperiod are what the plants respond to, and both are worth reading up on separately.




















Share:
How to set up a CO2 system for the first time